

Are you looking to Migrate Data From cPanel to DirectAdmin but not sure where to start? In this step-by-step guide, we will walk you through the process of transferring all your important files, databases, and settings seamlessly to Migrate Data From cPanel to DirectAdmin.
Migrate Data From cPanel to DirectAdmin can be a daunting task, but with the right approach and guidance, it can be done smoothly and efficiently. DirectAdmin is a popular alternative to cPanel, offering similar features and functionalities for managing your hosting environment. By following these steps, you can ensure a successful migration without losing any crucial data or causing any downtime for your website.
Whether you are a beginner or an experienced user, this comprehensive guide will take you through each stage of the migration process, ensuring that your Migrate Data From cPanel to DirectAdmin is as seamless as possible. Let’s get started on this exciting journey towards a new hosting experience.
Steps To Migrate Data From cPanel to DirectAdmin :
1. Prerequisites :
Let’s Migrate Data From cPanel to DirectAdmin smoothly with any errors, your file and server need to meet the following mandatory conditions:
- The maximum character length for mysql users on cPanel is 16 characters. And the maximum character length for mysql user on DirectAdmin is 10 characters, so you need to check before migrating to avoid loss of database when migrating.
- The User name length in cPanel and DirectAdmin must match to avoid conflicts when creating databases, you can check with the following command:
On cPanel (run command as root)
ls /var/cpanel/users | awk ‘{print length, $0}’ | sort -nr | head -n1
On DirectAdmin (run as root in SSH)
/usr/local/directadmin/directadmin set max_username_length 16 restart
2. Steps To Migrate:
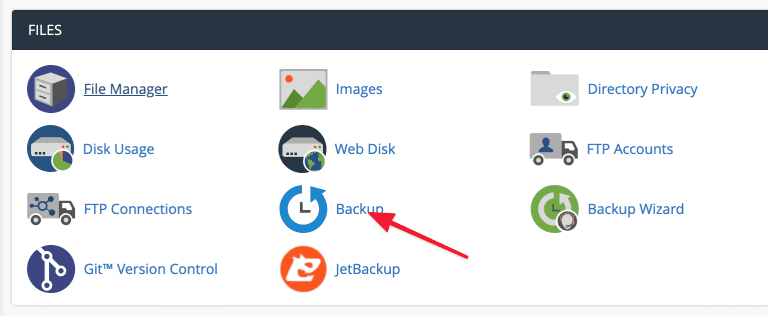
Step 1 : Backup your Whole cPanel Account :
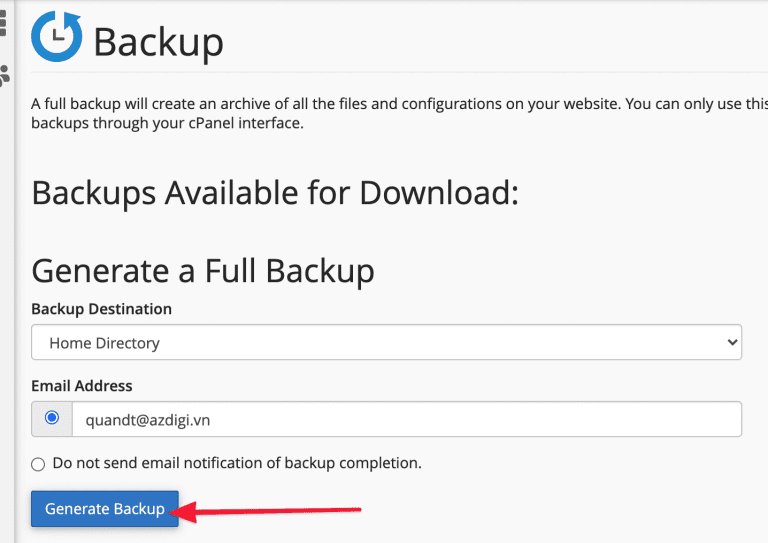
At the cPanel interface of the user, you perform a Full Account Backup to the tar.gz file. To backup, click Backup as shown below:
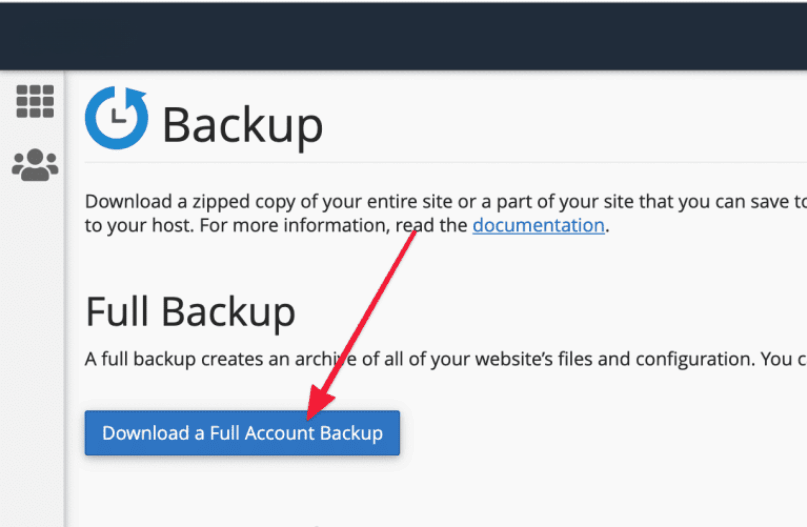
Next, click Download a Full Account Backup as shown below. The process will start backing up and backup time depending on the size of your data.
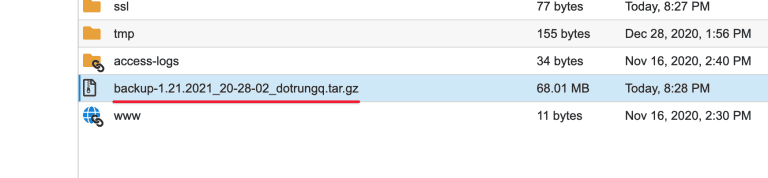
When the backup is complete, you access the File Manager and you will see a file in the format backup-date-time_user.tar.gz. You need to rename this file to cpmove-user.tar.gz format to perform the migration to DirectAdmin.
Below is I have changed the name to cpmove-user.tar.gz. In which dotrungq is the user of the cPanel account and cannot renamed this user.
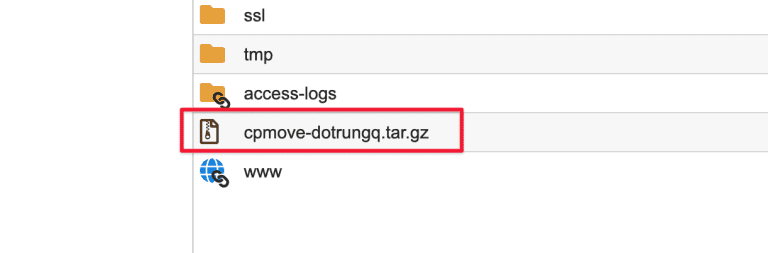
Below is I have changed the name to cpmove-user.tar.gz. In which dotrungq is the user of the cPanel account and cannot renamed this user.
Backup by command in SSH as root
If you have ssh access to the server as root, you can do a quick backup with the following command: (replace $username with your username)
script /scripts/pkgacct $username
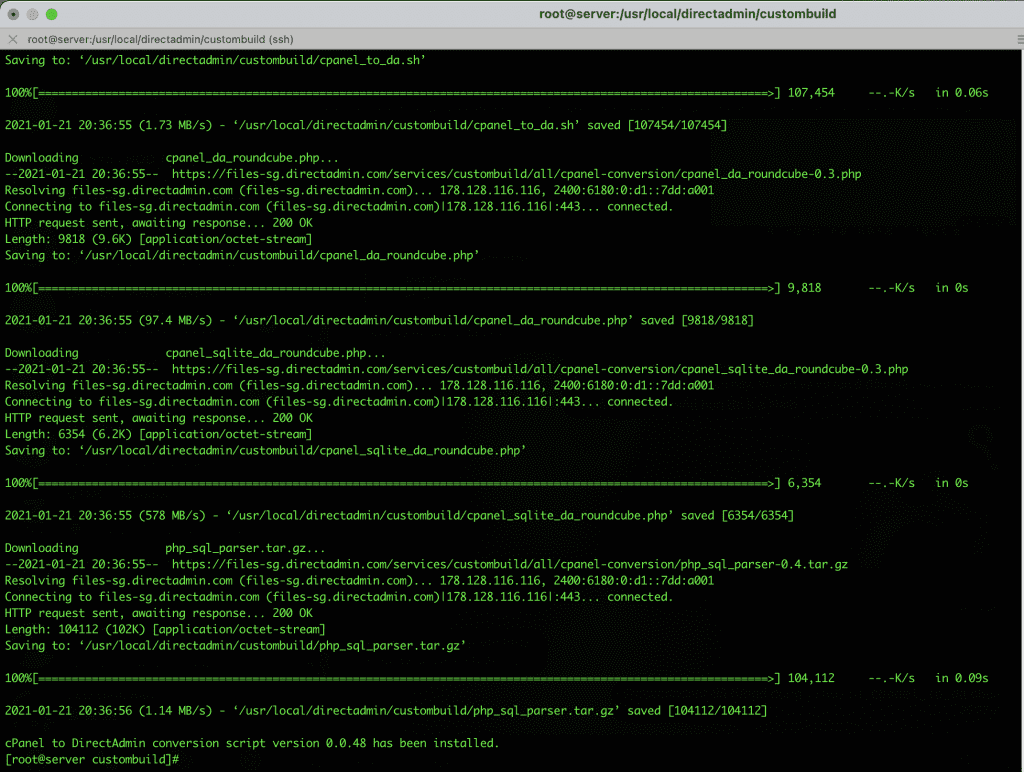
Step 2: Build the environment to migrate cPanel to DirectAdmin :
Next, SSH into the DirectAdmin server and execute the following commands: Explanation of commands:
cd /usr/local/directadmin/custombuild
./build update
./build cpanel_to_da
In there:
- Command 1: Move into CustomBuild folder
- Command 2: Latest Update
- Command 3: Build cPanel options to DirectAdmin
Practical Example :
Once you have completed the cPanel to DirectAdmin build, there should be no configuration conflicts when migrating cPanel to DirectAdmin.
Step 3: Upload the Backup cPanel file to DirectAdmin :
On DirectAdmin, you create a new folder to save the backup file of cPanel with the following command:
mkdir -p /home/admin/backup_files
After creating the backup_files folder, upload the cPanel backup file to this folder. There are many methods for you to migrate files directly from cPanel to DirectAdmin, such as SCP or Rsync, or you can download and upload the file directly to DirectAdmin in the /home/admin/backup_files directory. After uploading the file, you need to assign the file and folder permissions to admin for DirectAdmin to execute.
You can use the command:
chown -R admin. /home/admin/backup_files/
Step 4: Restore the cPanel backup file on DirectAdmin :
Please log in to DirectAdmin’s admin interface with http://ip:2222, the access DirectAdmin => Admin tools => Admin Backup/Transfer => Restore

Next, in the Path line, enter the backup path created in Step 3 => click NEXT STEP
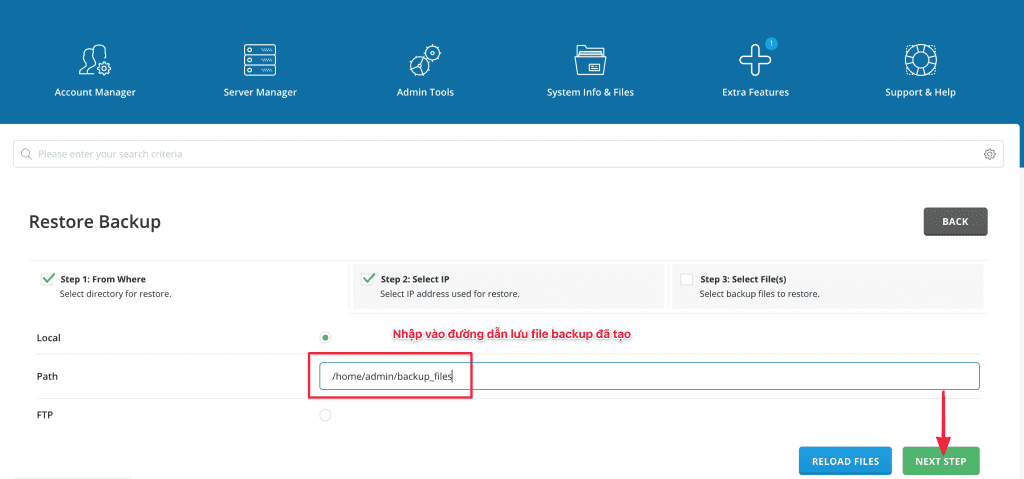
At this interface, if your server has more than 1 IP, you can choose to assign that user with the IP to assign. But if your server only has 1 IP, click NEXT STEP.

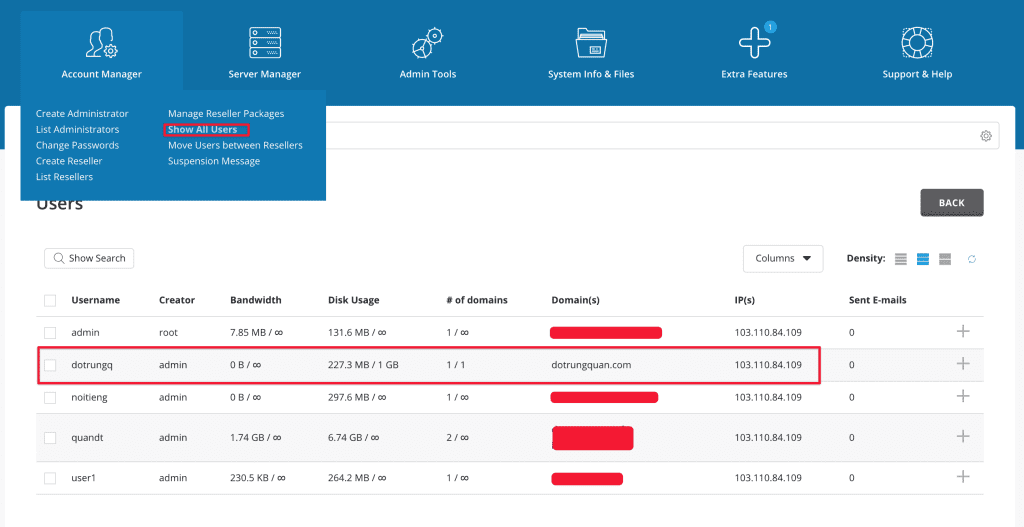
With Step 3 in the Files section, select the uploaded cPanel backup file and RESTORE to start the Restore process.

After clicking, you will receive a notification and this process will run in the background and you can completely turn off this window. Restore time will depend on data size, system configuration and resource usage at that time.
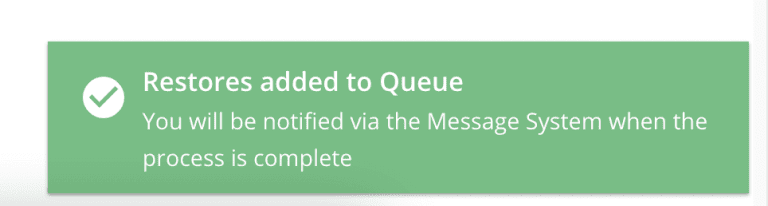
Actual image after successful restore:
Conclusion : The Final Verdict
Migrate Data From cPanel to DirectAdmin can be a smooth process if done step-by-step. Start by backing up all the cPanel accounts using the cpanel backup tool. Transfer the accounts to the DirectAdmin server using the da migration tool or via ssh. Make sure the username length is within 16 characters as DirectAdmin supports usernames of up to 16 characters only. Keep in mind that subdomains, email accounts, and other settings should be backed up and transferred properly.
Checkout Top 7 Best WHMCS Alternatives for Web Hosting Management
Discover more from Owrbit
Subscribe to get the latest posts sent to your email.