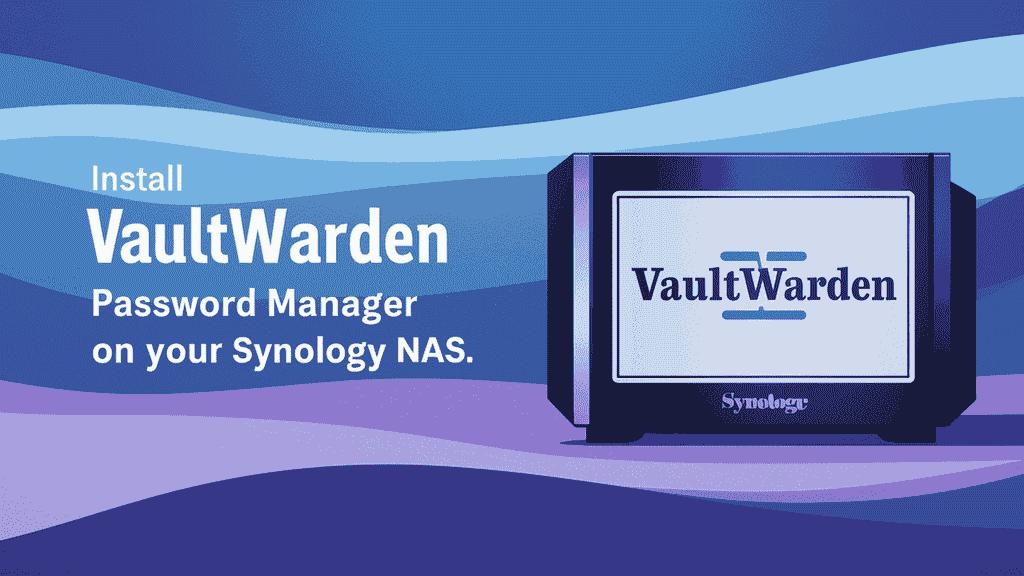
These days, most of us have a lot of online accounts, and it’s really hard to remember all the different passwords. That’s why using a password manager is super important. It keeps your passwords safe and makes your life easier. One of the best and most trusted options is Vaultwarden, an open-source password manager that gives you full control over your own data.
If you have a Synology NAS, you’re in luck. You can easily install Vaultwarden Password Manager on Synology to store all your passwords safely in one place. Synology NAS on Vaultwarden Password Manager gives you a secure, private, and convenient way to manage all your login details, notes, and sensitive information.
Synology NAS devices are known for being easy to use and super flexible. That’s why many people use them to run apps like Vaultwarden at home. When you install Vaultwarden Password Manager on Synology, you’re not only improving your digital security but also making it simple to access all your passwords whenever you need them. It’s like having your own personal vault at home, fully protected and always ready.
Using Synology NAS on Vaultwarden Password Manager is a smart move if you want more control over your password data. Unlike other online password managers, your data stays with you — safe, private, and not stored on some unknown server.
In this simple guide, we’ll show you how to install Vaultwarden Password Manager on Synology step-by-step. You don’t need to be a tech expert. Just follow the instructions and you’ll have everything set up quickly. Once done, you’ll enjoy the benefits of Synology NAS on Vaultwarden Password Manager, like easy password access, full security, and peace of mind.
Ready to get started? Let’s dive in and see how you can install Vaultwarden Password Manager on Synology and take full control of your digital safety with Synology NAS on Vaultwarden Password Manager.
What is Vaultwarden?
Vaultwarden is a lightweight, open-source password manager that you can host yourself. It’s a popular alternative to Bitwarden, designed to run efficiently on low-resource devices like a Raspberry Pi, VPS, or a Synology NAS. Vaultwarden was formerly known as “bitwarden_rs.”
Why Choose Vaultwarden for Password Management?
Managing passwords safely is more important than ever. While many password managers are available, Vaultwarden stands out for a few solid reasons — especially if you want something reliable, private, and free.

- ✅ 1. Self-Hosted & Fully Private
- With Vaultwarden, you host the password manager yourself — on your own server, Raspberry Pi, or Synology NAS. This means:
- No third parties handling your data
- You’re the only one who can access your vault
- Perfect for those concerned about online privacy
- With Vaultwarden, you host the password manager yourself — on your own server, Raspberry Pi, or Synology NAS. This means:
- ✅ 2. Free and Open-Source
- Vaultwarden is completely free and open-source.
- No monthly subscriptions
- No paywalls for core features
- The code is open and transparent, so anyone can inspect it
- Vaultwarden is completely free and open-source.
- ✅ 3. Lightweight and Fast
- Vaultwarden is designed to be resource-efficient. It works smoothly even on low-powered devices like:
- Raspberry Pi
- VPS
- Synology NAS
- So, it’s ideal for home setups and small offices without needing high-end hardware.
- Vaultwarden is designed to be resource-efficient. It works smoothly even on low-powered devices like:
- ✅ 4. Works with Official Bitwarden Apps
- Even though Vaultwarden is a separate project, it’s fully compatible with the official Bitwarden apps and extensions:
- Browser extensions (Chrome, Firefox, etc.)
- Mobile apps (Android, iOS)
- Desktop apps
- You get all the user-friendly features without giving up control.
- Even though Vaultwarden is a separate project, it’s fully compatible with the official Bitwarden apps and extensions:
- ✅ 5. Great for Families or Small Teams
- Vaultwarden allows multiple users, so you can:
- Share access securely with family members
- Use it within a small team
- Set up organization features with minimal setup
- Vaultwarden allows multiple users, so you can:
- ✅ 6. Easy to Install (especially on Synology NAS)
- If you want to install Vaultwarden Password Manager on Synology, the setup is surprisingly simple. It integrates well with your existing NAS and gives you:
- A secure, always-online password vault
- Access from any device
- Full control over backups and updates
- If you want to install Vaultwarden Password Manager on Synology, the setup is surprisingly simple. It integrates well with your existing NAS and gives you:
- ✅ 7. No Internet? No Problem.
- Because you host Vaultwarden yourself, you can even use it offline within your home network. This is ideal for ultra-private setups where no data ever leaves your local system.
Choosing Vaultwarden gives you freedom, security, and peace of mind. Whether you’re a tech-savvy user, a family looking for a shared vault, or a small business wanting more control — Vaultwarden is a smart, secure choice.
Prerequisites for installing Vaultwarden on Synology NAS :
Before you begin the process to install Vaultwarden Password Manager on Synology, make sure you have the following things ready:
- A Synology NAS with Docker support
- Your Synology NAS should support Docker. Most x86-based NAS models (like DS218+, DS220+, DS920+, etc.) support it.
- If your NAS is ARM-based, Vaultwarden may not work unless you use an ARM-compatible Docker image.
- Updated Synology DSM
- Ensure your NAS is running the latest version of DiskStation Manager (DSM) for better performance and compatibility.
- Docker installed from Synology Package Center
- Go to the Package Center on your NAS and install the Docker package. This is needed to run Vaultwarden as a container.
- Internet connection
- You’ll need internet access initially to download the Vaultwarden Docker image. After setup, you can choose to use it locally or with external access.
- Basic knowledge of Synology DSM
- You should be familiar with using the DSM dashboard, creating folders, setting permissions, and managing Docker containers.
- A shared folder for Vaultwarden data
- Create a folder on your NAS (like
vaultwarden-data) to store Vaultwarden’s database, config, and backup files. This ensures your data stays intact even if the container is updated or removed.
- Create a folder on your NAS (like
- HTTPS setup (optional but recommended)
- If you want to access Vaultwarden from outside your home, set up a domain or use Synology’s free DDNS (like
yourname.synology.me), and configure HTTPS using Let’s Encrypt.
- If you want to access Vaultwarden from outside your home, set up a domain or use Synology’s free DDNS (like
- Admin token (optional)
- If you plan to use the Vaultwarden admin panel, generate a secure admin token. You can use a password generator website for this.
Once you’ve taken care of these requirements, you’ll be ready to move forward and install Vaultwarden Password Manager on Synology. Let me know if you’d like me to walk you through the installation steps next.
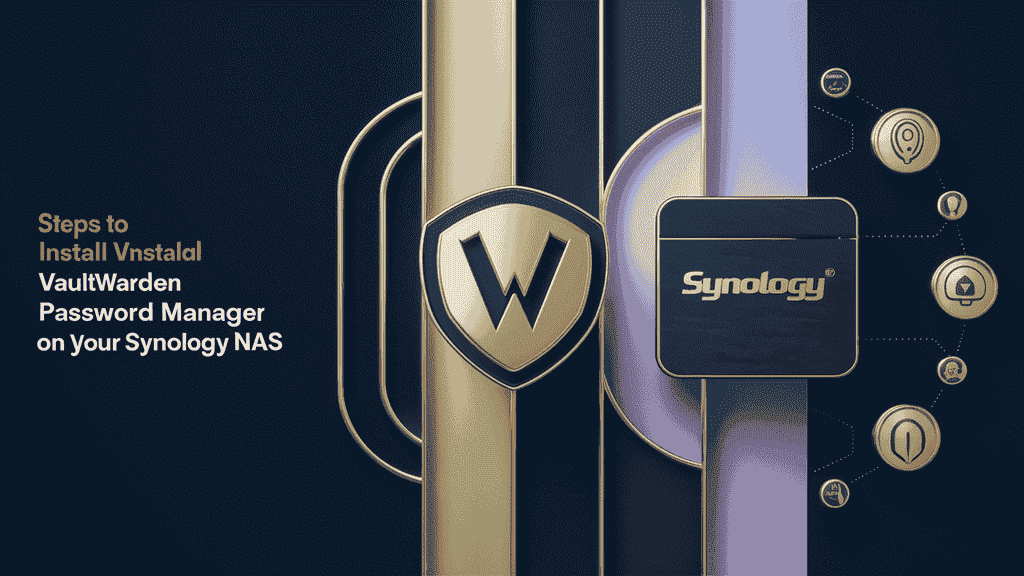
Steps to Install Vaultwarden Password Manager on Your Synology NAS :
Managing your passwords securely has never been easier. Follow these simple steps to install Vaultwarden Password Manager on Synology and get your self-hosted password vault up and running.
Checkout Top 3 Best Password Manager for Synology NAS Devices
- Step 1: Update Your Synology NAS
- Log in to DSM (your Synology dashboard).
- Go to Control Panel > Update & Restore.
- Make sure your system is fully updated to avoid compatibility issues.
- Step 2: Install Docker on Synology NAS
- Open Package Center in DSM.
- Search for “Docker” and click Install.
- Wait for the installation to complete before continuing.
- Step 3: Download Vaultwarden Docker Image
- Open the Docker app from your main menu.
- Go to Registry and search for
vaultwarden/server. - Double-click or right-click it and select Download (latest tag).
- Wait for the image to download under the Image tab.
- Step 4: Configure Vaultwarden Settings
- Go to the Image tab, select
vaultwarden/server, and click Launch. - Name your container (e.g.,
vaultwarden). - Click Advanced Settings, then:
- Enable auto-restart.
- Under Volume, mount a folder (e.g., vaultwarden-data) to /data.
- Under Port Settings, map a local port (like 8222) to container port 80.
- (Optional) Under Environment, set ADMIN_TOKEN if you want admin access.
- Go to the Image tab, select
- Step 5: Set Up a Reverse Proxy (Optional)
- Go to Control Panel > Application Portal > Reverse Proxy tab.
- Create a new rule:
- Source: your domain or subdomain
- Destination:
localhost:8222
- This lets you access Vaultwarden through a clean URL like
https://vault.yourdomain.com.
- Step 6: Create SSL Certificate for Secure Access
- Go to Control Panel > Security > Certificate.
- Click Add > Get a certificate from Let’s Encrypt.
- Enter your domain, email, and confirm.
- Assign this certificate to your reverse proxy under Application Portal > Reverse Proxy > Edit > Custom Certificate.
- Step 7: Launch Vaultwarden Container
- Go back to Docker > Container tab.
- Select the Vaultwarden container and click Start.
- Vaultwarden is now running on your Synology NAS.
- Step 8: Accessing Vaultwarden Web Interface
- Open a browser and go to your Synology IP and port (e.g.,
http://192.168.1.100:8222)
or your custom domain if you set up a reverse proxy. - You should see the Vaultwarden login/signup screen.
- Open a browser and go to your Synology IP and port (e.g.,
- Step 9: Creating Your Vaultwarden Account
- Click Create Account on the login screen.
- Enter your email and master password.
- This will be your main login to access your password vault.
- Step 10: Importing Passwords into Vaultwarden
- After logging in, go to Settings > Import Data.
- Choose your previous password manager (e.g., Bitwarden, LastPass).
- Upload your exported file and confirm the import.
Now you’ve successfully completed all steps to install Vaultwarden Password Manager on Synology. You can securely store and access all your credentials, notes, and sensitive information anytime — with full privacy and control.
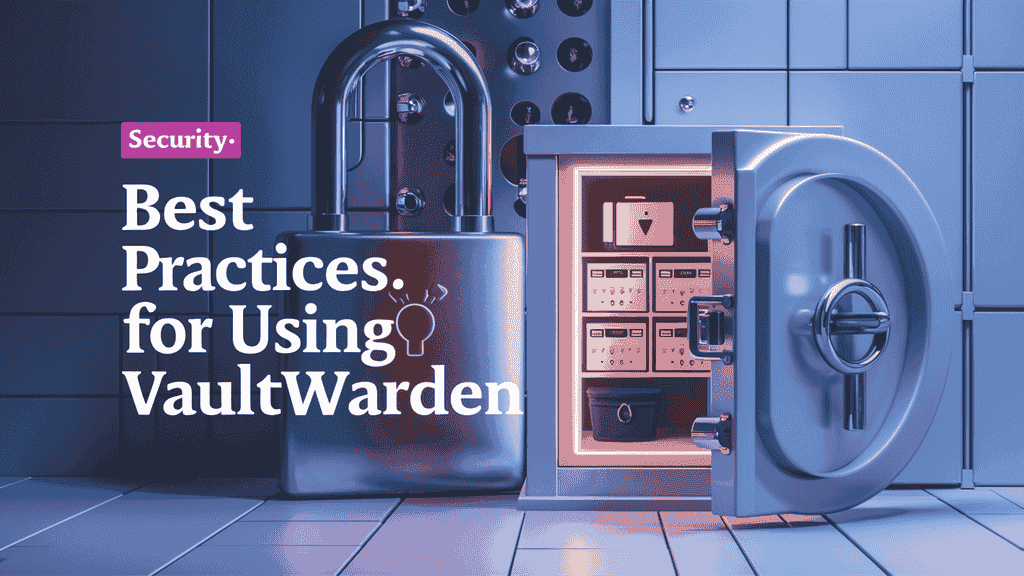
Security: Best Practices for Using Vaultwarden
Once you install Vaultwarden Password Manager on Synology, it’s important to follow best practices to keep your password vault as secure as possible. Below are some simple but effective tips to improve your overall security when using Synology NAS on Vaultwarden Password Manager.
- Use a strong master password
- Your master password is the key to your entire vault. Use a long and complex password that includes uppercase letters, lowercase letters, numbers, and symbols. Avoid using names, birthdays, or common words.
- Enable two-factor authentication (2FA)
- Always enable 2FA for your Vaultwarden account. This adds an extra layer of protection even if someone somehow learns your master password.
- Update Vaultwarden regularly
- Whenever a new version of Vaultwarden is released, it usually includes important security fixes. Keep your Docker container updated to avoid vulnerabilities.
- Backup your Vaultwarden data
- Set up regular backups of your
vaultwarden-datafolder. Store backups securely and test them occasionally to make sure they work in case of an emergency.
- Set up regular backups of your
- Use HTTPS with a valid SSL certificate
- If you’re accessing Vaultwarden outside your local network, make sure to use HTTPS. You can easily set this up with Synology’s built-in Let’s Encrypt SSL tool to keep your login data encrypted.
- Restrict external access
- If you don’t need to access your vault from outside your home or office, block external access entirely. Use local IP access or a VPN to reach your NAS instead.
- Create a secure admin token
- If you use Vaultwarden’s admin panel, always set a strong, randomly generated admin token. Never leave the admin page open to the public or unprotected.
- Limit user accounts and permissions
- If you’re using Synology NAS on Vaultwarden Password Manager for a family or small team, give access only to trusted users. Avoid sharing one account across multiple people.
- Check logs and monitor activity
- Regularly check Vaultwarden logs through the Docker container to monitor for any suspicious login attempts or activity.
- Secure your Synology NAS itself
- Use strong DSM passwords, enable 2FA for your Synology account, keep DSM updated, and disable unused services or ports.
Following these practices will help you stay safe when using Synology NAS on Vaultwarden Password Manager and protect your most sensitive data from unauthorized access.
Conclusion: Enjoy a Secure Password Management Solution
Managing passwords doesn’t have to be stressful or risky. With the right tools and setup, you can keep everything safe and easy to access. One of the best ways to do this is to install Vaultwarden Password Manager on Synology. It gives you full control over your password data, without depending on any third-party service.
When you install Vaultwarden Password Manager on Synology, you get a simple, secure, and reliable solution that works just the way you want. Whether you’re managing personal accounts or sharing passwords with your family, everything stays private and protected. Using Synology NAS on Vaultwarden Password Manager means your data stays with you — no more storing sensitive information on the internet.
Many people choose to install Vaultwarden Password Manager on Synology because it’s fast, light, and doesn’t cost anything. Plus, setting it up is easier than you might think. Once you finish the setup, you can enjoy all the benefits of Synology NAS on Vaultwarden Password Manager, like remote access, shared vaults, and daily backups — all hosted safely at your home or office.
If you’re serious about keeping your online life secure, it’s a great time to install Vaultwarden Password Manager on Synology. You’ll save time, avoid password headaches, and reduce the risk of hacks or leaks. With Synology NAS on Vaultwarden Password Manager, you create a safe space where all your passwords, notes, and important info stay protected.
So go ahead — install Vaultwarden Password Manager on Synology today, and take full control of your digital security. Once you start using Synology NAS on Vaultwarden Password Manager, you’ll wonder how you ever managed without it.
Checkout Best Password Manager: Top Password Manager for Android & IOS
Discover more from Owrbit
Subscribe to get the latest posts sent to your email.