
If you’ve bought a cheap IPv6-only VPS to save money and tried running Docker, you’ve probably hit the same frustrating error:
“Docker pull network unreachable IPv6 only” or random Docker Hub timeouts.
You’re not doing anything wrong—this happens because most Docker setups still expect IPv4 in the background. So, when you try to pull an image, Docker silently looks for IPv4 routes that simply don’t exist on your server.
That’s why you see errors like:
- Network unreachable
- i/o timeout
- Docker Hub not responding
In this guide, I’ll show you exactly how to install Docker on Ubuntu 24.04 IPv6 only VPS and fix these issues step by step. No confusing theory—just real fixes that work in 2026.
We’ll cover:
- Why Docker fails on IPv6-only servers
- How to fix Docker Hub IPv4 timeout on IPv6 VPS
- Correct DNS + resolver setup for IPv6
- Proper Docker daemon configuration (so it stops trying IPv4)
By the end, your server will be able to run:
docker pull nginx
Without errors, delays or weird timeouts—fully working over IPv6.
This is not a generic guide. This is the exact fix for people stuck right now trying to make Docker work on low-cost IPv6-only VPS servers.
⚡ Quick Fix: Docker “Network Unreachable” on IPv6 VPS
If you are seeing dial tcp: network is unreachable or i/o timeout when pulling images, follow these three steps to fix it immediately:
- Enable IPv6 in Docker: Edit
/etc/docker/daemon.jsonand set"ipv6": true. - Add a DNS64 Resolver: Edit
/etc/resolv.confand add a NAT64 nameserver (e.g., Trex.fi:2001:67c:2b0::4). - Restart Services: Run
systemctl restart dockerto apply the changes.
Scroll down for the full step-by-step terminal commands and configuration codes.
Why Docker Fails on Cheap IPv6-Only VPS :
If you’re using a cheap IPv6 VPS, the low price might feel like a win—but the moment you run and see “network unreachable” or timeouts, it quickly becomes frustrating.
The reason behind this is simple: your server is modern (IPv6-only) but Docker’s ecosystem is still partially stuck in the IPv4 world.
The Real Problem: IPv4 Exhaustion + Old Defaults
Due to the IPv4 exhaustion crisis, hosting providers now:
- Charge extra for IPv4
- Or remove it completely from budget plans
“The transition to IPv6 is no longer a ‘future goal’—it is a financial necessity. As IPv4 addresses become a taxed commodity, developers must master single-stack IPv6 networking to stay competitive.”
— Infrastructure Trends Report 2026
That’s why $1/month servers are usually IPv6-only.
These servers work perfectly—but most tools, including Docker were designed assuming IPv4 is always available.
Why Docker Pull Fails (What’s Actually Happening) :
When you run a pull command Docker tries to contact Docker Hub.
But on an IPv6-only VPS:
- DNS may return both IPv4 (A) and IPv6 (AAAA) records
- Docker may still try IPv4 endpoints
- Your server has no IPv4 route
Result:
- Docker pull network unreachable IPv6 only
- Docker Hub IPv4 timeout on IPv6 VPS
- Random connection failures
Prerequisites: Before Installing Docker on an IPv6-Only VPS :
Before you start fixing docker pull network unreachable IPv6 only errors, make sure your setup is correct. Most failures happen because of missing basics—not Docker itself.
Here’s a simple 2026-ready checklist.
1. An IPv6-Only VPS (Budget-Friendly Servers) :
You need a cheap IPv6 VPS with no IPv4 attached.
Popular providers offering this setup:
- Hetzner (low-cost cloud instances)
- BuyVM (IPv6-first plans)
- Gullo’s (budget-friendly options)
These servers are ideal for saving money but they require proper configuration to avoid Docker Hub limitations and IPv4-related issues.
2. Operating System :
Your server should be running:
Ubuntu 24.04 LTSWhy this matters:
- Latest kernel with strong IPv6 support
- Better networking stack compared to older versions
- Fully compatible with modern Docker versions
If you’re trying to Install Docker on Ubuntu 24.04 IPv6 only, this is currently the most stable and recommended base.
3. Root or Sudo Access :
You must have full administrative access to your VPS.
You’ll need it to:
- Install Docker packages
- Edit system files like
daemon.json - Configure DNS and networking settings
Typical command format:
sudo apt updateWithout sudo/root access you won’t be able to fix Docker Hub IPv4 timeout on IPv6 VPS issues properly.
Once you have these three things ready, you’re set up for a clean installation.
In the next step, we’ll install Docker the right way on an IPv6-only Ubuntu 24.04 server and avoid the common mistakes that cause pull failures.
Step-by-Step Fix: Install Docker & Solve IPv6-Only VPS Errors
If you’re stuck with docker pull network unreachable IPv6 only or facing Docker Hub IPv4 timeout on IPv6 VPS, this step-by-step section will walk you through the exact process—from installing Docker to fully fixing registry access so everything works smoothly on an IPv6-only server.
Step 1: Install Docker on Ubuntu 24.04 IPv6 Only :
If your system meets the prerequisites installing Docker on an IPv6-only server is straightforward. The installation itself is not the problem—this is why most users get confused.
To install Docker on Ubuntu 24.04 IPv6 only, you simply:
- Update your system packages
- Add Docker’s official repository
- Install Docker Engine and required components
- Enable and start the Docker service
At this stage, everything will look perfectly fine. Docker installs successfully the service runs, and there are no visible errors.
But the real issue appears when you try to use it.
Step 2: The Common Error — “Docker pull network unreachable IPv6 only”
Right after installation, most users test Docker by pulling an image.
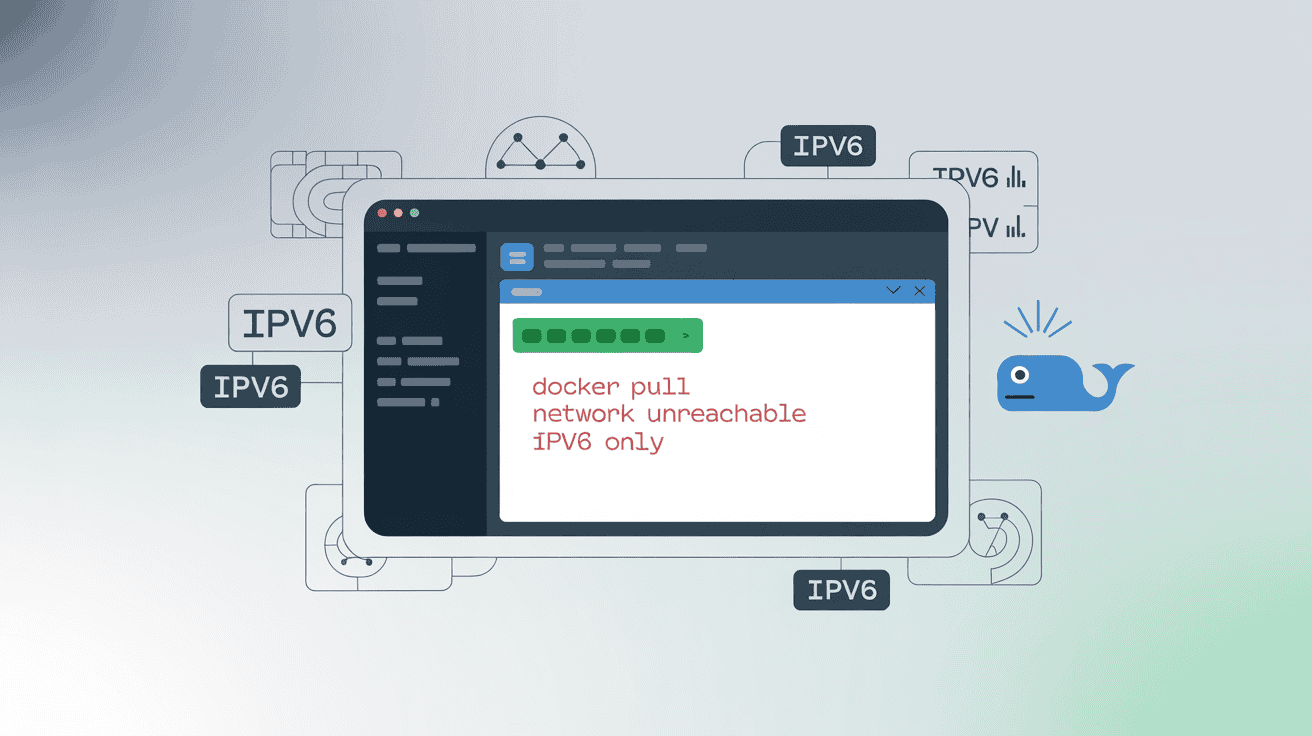
That’s when you hit the exact error:
- docker pull network unreachable IPv6 only
- i/o timeout
- failed to connect to registry
This is the moment where people start searching Google and land on generic guides that don’t solve the issue.
What’s happening here is simple:
- Docker is trying to reach Docker Hub
- The request is going through IPv4 endpoints
- Your server has no IPv4 connectivity
Result: the request fails, even though your internet is working perfectly over IPv6.
Step 3: Fix Docker Hub IPv4 Timeout on IPv6 VPS
This is the turning point of the guide. Most tutorials stop after the installation, but on an IPv6-only VPS, you must bridge the gap between your modern server and Docker Hub’s older IPv4 infrastructure.
Part A: Configure Docker for IPv6 (The daemon.json Fix)
By default, the Docker engine is “blind” to IPv6 for internal container networking. If you don’t tell Docker to use an IPv6 subnet, it will keep trying to route traffic through a non-existent IPv4 gateway.
- Create or edit the Docker configuration file: Run the following command in your terminal:
sudo nano /etc/docker/daemon.json - Paste the following configuration: This script enables the IPv6 stack, sets a private IPv6 subnet for your containers, and ensures your firewall (ip6tables) allows the traffic.
{
  "ipv6": true,
  "fixed-cidr-v6": "fd00:db8:1::/64",
  "ip6tables": true,
  "experimental": true
}- Save and Restart: Press
CTRL+O, thenEnterto save, andCTRL+Xto exit. Now, apply the changes by restarting the Docker service:sudo systemctl restart docker
“The ‘Network Unreachable’ error is rarely a sign of a broken server; it is a sign of a broken bridge. Configuring a NAT64 gateway is the most efficient way to maintain access to the legacy IPv4 web.”
— Network Engineering Insights
Part B: Use DNS64/NAT64 (The Bridge to the IPv4 Internet)
Even with IPv6 enabled, you will still face a Docker Hub IPv4 timeout on IPv6 VPS because many of Docker’s image layers are hosted on servers that don’t have an IPv6 address yet. To fix this, we use a “Translator” called NAT64.
“A NAT64 gateway acts as a vital translator. It allows next-generation, IPv6-only servers to seamlessly pull data from the massive, yet legacy, IPv4 web without the financial burden of a dual-stack configuration.”
— Modern System Administration
- How it works: When your server asks for “https://www.google.com/search?q=production.cloudflare.docker.com,” a DNS64 server takes the IPv4 address and “wraps” it in an IPv6 prefix that your server can understand.
- Update your Nameservers: You need to tell your VPS to use a DNS64 provider. We recommend Trex.fi (a reliable, free public service for developers). Edit your resolver configuration:
sudo nano /etc/resolv.conf
- Add these lines to the top of the file: These are the specialized IPv6 addresses that handle the translation to the IPv4 world.
nameserver 2001:67c:2b0::4
nameserver 2001:67c:2b0::6- Make the change permanent: On Ubuntu 24.04, the
resolv.conffile can sometimes be overwritten by the system. To make this fix stick, it is best to install theresolvconfpackage or update your Netplan configuration to ensure these IPv6 DNS addresses are always used.
Why this works: By combining the daemon.json fix (internal routing) with the DNS64 fix (external translation), you have removed every roadblock. Your server can now “see” the IPv4 internet through an IPv6 lens, effectively ending the “Network Unreachable” errors forever.als ignore when trying to fix Docker Hub IPv4 timeout on IPv6 VPS.
Why IPv6-Only VPS Is the Best Choice for Modern App Scaling :
If you’re building or scaling applications today the biggest hidden cost is infrastructure—especially IPv4. This is why many developers and businesses are shifting toward IPv6-only VPS as part of a smarter scalable cloud architecture.
Instead of paying extra for outdated networking, you can build faster, cheaper and more efficient systems using IPv6.
1. Significant IPv6 Cost Savings (Up to 60%) :
IPv4 addresses are limited and expensive which directly increases your monthly hosting bill.
By switching to IPv6-only:
- You remove the cost of IPv4 completely
- Deploy more servers within the same budget
- Scale without worrying about IP availability
For growing platforms, this often results in 40–60% lower infrastructure costs, especially when running multiple services or nodes.
2. Ideal for Backend Systems & Docker Network Optimization :
Not every service in your architecture needs a public IP.
IPv6-only VPS is perfect for:
- Worker processes and background jobs
- Databases and storage services
- Internal APIs and microservices
When combined with proper Docker network optimization, you get:
- Cleaner container networking (no unnecessary IPv4 fallbacks)
- Direct communication between services
- Better performance across distributed systems
Once you fix issues like Docker Hub IPv4 timeout on IPv6 VPS, Docker runs smoothly in a fully IPv6-native environment.
“Scaling modern microservices shouldn’t be penalized by the artificial scarcity of legacy IP addresses. Embracing IPv6-native environments allows engineering teams to optimize for performance rather than network costs.”
— DevOps Economics 2026
3. Built for Scalable Cloud Architecture :
Modern applications scale horizontally, not vertically.
With IPv6:
- You get virtually unlimited IP space
- Spin up containers and nodes instantly
- Expand your infrastructure without network limits
This makes IPv6-only VPS a strong foundation for:
- Docker-based deployments
- Microservices architecture
- High-traffic platforms
Frequently Asked Questions (FAQs) :
Below are the most commonly asked questions about fixing Docker issues on IPv6-only VPS servers, based on real user problems and search queries.
Can Docker run properly on an IPv6-only VPS?
Yes, Docker works perfectly on an IPv6-only VPS when configured correctly. The main issue is not Docker itself, but its default behavior of trying IPv4 connections. Once you fix networking and DNS, everything runs smoothly.
Do I need NAT64 for Docker to work on IPv6-only servers?
In most cases, yes. Some Docker Hub endpoints still rely on IPv4. NAT64 acts as a bridge, allowing your IPv6 server to communicate with those services without needing a dedicated IPv4 address.
Which OS is best to install Docker on an IPv6-only VPS?
Ubuntu 24.04 LTS is currently the best choice. It offers:
- Strong IPv6 support
- Updated networking stack
- Full compatibility with modern Docker versions
This makes it ideal if you want a stable setup without extra troubleshooting.
Why do cheap IPv6 VPS servers cause Docker issues?
Cheap IPv6 VPS plans remove IPv4 to reduce cost. While this makes them affordable, many tools (including parts of Docker Hub) still expect IPv4, leading to errors like network unreachable or timeout failures.
Is an IPv6-only VPS good for production use?
Yes, if configured properly. IPv6-only servers are:
- Cost-effective
- Scalable
- Future-ready
They are widely used for modern applications, including containerized environments.
How do I check if my VPS supports IPv6 correctly?
You can verify:
- Your server has a valid IPv6 address
- DNS resolves AAAA records
- External IPv6 connectivity is working
If these are in place, your VPS is ready for Docker configuration.
Do I need to buy an IPv4 address to fix Docker errors?
No. You do not need to purchase IPv4. With the right configuration (IPv6 + NAT64), you can fully run Docker without paying extra for IPv4 addresses.
Why is Docker Hub not fully working on IPv6 yet?
Docker Hub is gradually improving IPv6 support, but some backend services still rely on IPv4. That’s why additional configuration is needed on IPv6-only systems.
What is the cheapest way to run Docker servers?
The most cost-effective method is using a cheap IPv6-only VPS with proper Docker and DNS configuration. This allows you to avoid IPv4 costs while still running production workloads.
Which hosting provider is best for IPv6 VPS and Docker workloads?
There are many providers, but you should look for:
- Strong network performance
- Reliable uptime
- Support for modern workloads
Platforms like Owrbit are gaining attention for offering optimized VPS and dedicated environments suitable for Docker, automation, and even AI-based workloads—making them a practical choice for scaling projects.
If you still have questions or want more advanced server setups, scripts, and optimization tips, make sure to join our community and stay updated with the latest working solutions.
Discover more from Owrbit
Subscribe to get the latest posts sent to your email.