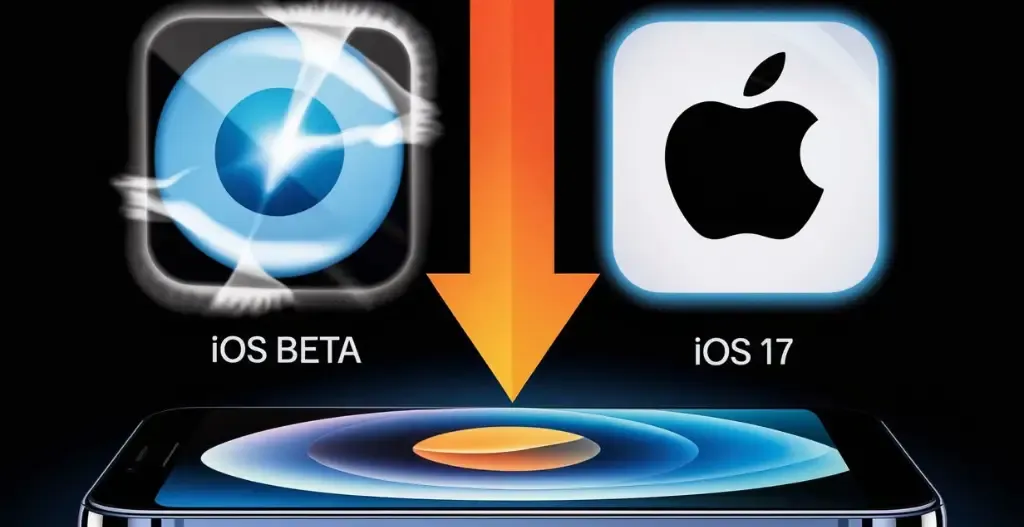
As Apple professionals eagerly anticipate the latest features and improvements in iOS 18 Beta, not every user finds the pre-release software to be a perfect fit for their needs. Whether you’re having some unexpected bugs, experiencing performance issues, or simply missing the stability of a stable software update release, the desire to revert back to iOS 17 is understandable. The good news is that you can Downgrade from iOS 18 Beta to iOS 17 without losing your valuable data.
This guide will walk you through the process, ensuring a smooth transition back to the dependable environment of iOS 17. By following these steps carefully, you’ll learn how to prepare your device, backup essential data, and navigate the downgrade procedure—all while keeping your apps, settings, and personal data intact. Whether you’re a developer testing the latest innovations or a casual user curious about the future of iOS, this article will equip you with the knowledge to manage your device effectively.
Important Precautions Before Downgrade from iOS 18 Beta to iOS 17 :
When planning to Downgrade from iOS 18 Beta to iOS 17, it’s essential to follow some required precautions to ensure a smooth transition and avoid data loss. Before initiating the downgrade process, make sure to back up your iPhone data. Using iTunes is a reliable method for a complete backup. After that, download the appropriate iOS 17 IPSW file, ensuring that it’s compatible with your particular iPhone model. This file is crucial for installing iOS 17 from 18.
Another considerable precaution is to confirm that the firmware version of iOS 17, such as iOS 17.5.1, is stable and suitable for your needs, particularly if you are transitioning from a developer beta. If done correctly, you should be able to go back to iOS 17 without significant disruptions, thus completing the downgrade from iOS 18 beta to 17 without losing data. This is a cautious yet necessary step for those looking to switch back to a more robust iOS version.
How to Downgrade from iOS 18 Beta to iOS 17 :
The first iOS 18 beta is expected to have many bugs and glitches which makes users wanting to roll back to iOS 17 stable update. If you need to Downgrade from iOS 18 Beta to iOS 17 without losing data, there are several downgrade methods that are available. One popular method involves using iTunes in the pc/mac and it’s officially legal process. Let’s learn how to do that :
Step 1 : Put Your iPhone Into The Recovery Mode -:
- To enter into recovery mode on your iPhone, First turn off your iPhone.

- Now, while holding the Power/Side key, immediately connect your iPhone to a Mac or Windows PC.
- Now, Hold the power button and the volume keys, Immediately connect your iPhone to a Mac Or Windows PC.
- Hold the buttons till the iPhone shows the Apple logo on-screen.
- After the Apple logo, A black screen with a cable and and an arrow pointing toward a laptop, Your iPhone has entered in recovery mode.

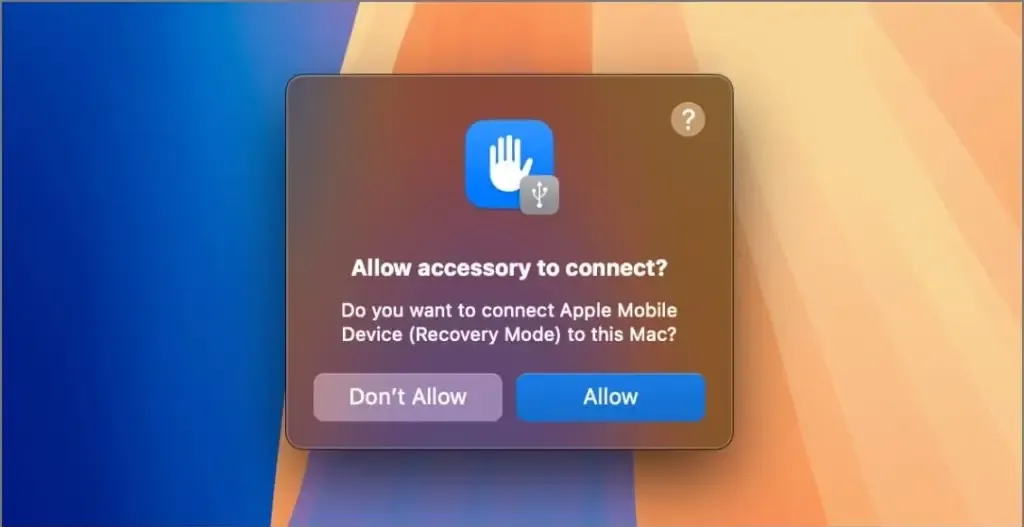
- On your computer, accept the prompt to allow the iPhone to connect.
Step 2 : Restore iPhone to iOS 17 from iOS 18 Beta -:
- On the Mac, Open the finder app. If you’re using Windows PC, Install The iTunes App firstly by clicking here.
- After opening the iTunes application, Select your iPhone’s name from the left sidebar.

- Now, whenever a popup asking to Update or Restore your Device, Select the restore button.
- Now click on Restore and Update in the next pop-up window.
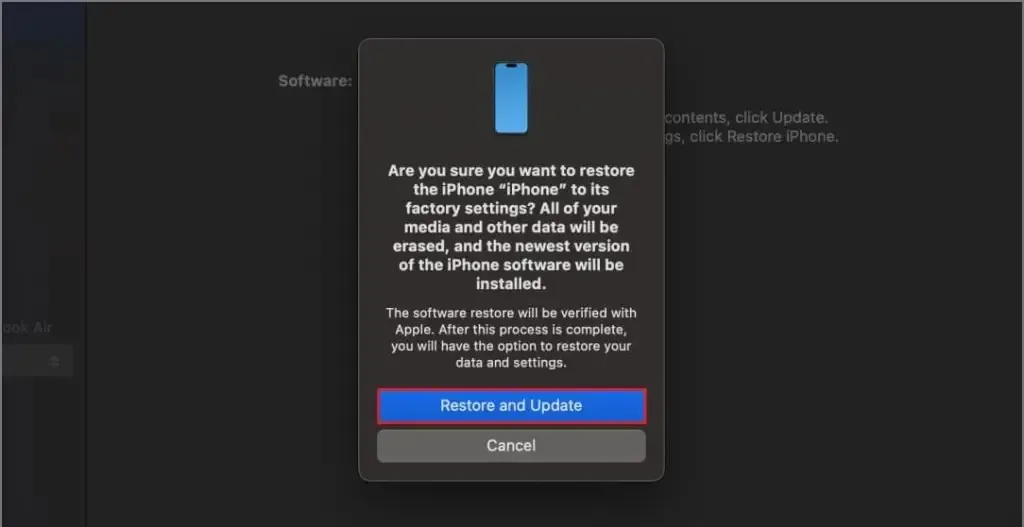
- Accept all the terms & conditions on your screen. Now wait for your iPhone to be restored.
- Now the application will install the latest stable software available for your model. This process can take up to 15-20 minutes.
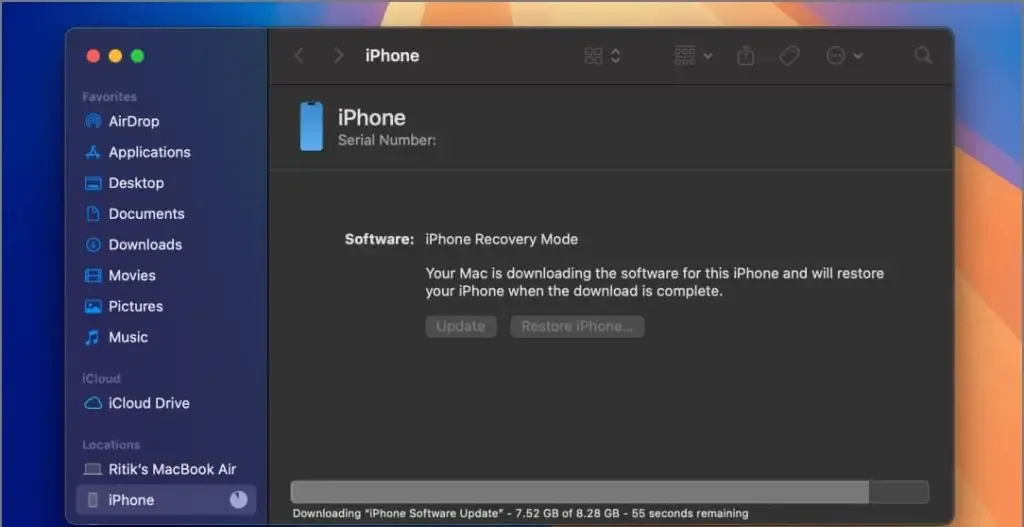
After that, your iPhone will automatically boot into iOS 17. Disconnect it from your Mac or Windows PC and then restore your backup via iTunes, iCloud, or the method you chose earlier. This way, you’ve successfully Downgrade from iOS 18 Beta to iOS 17 while keeping all your data.
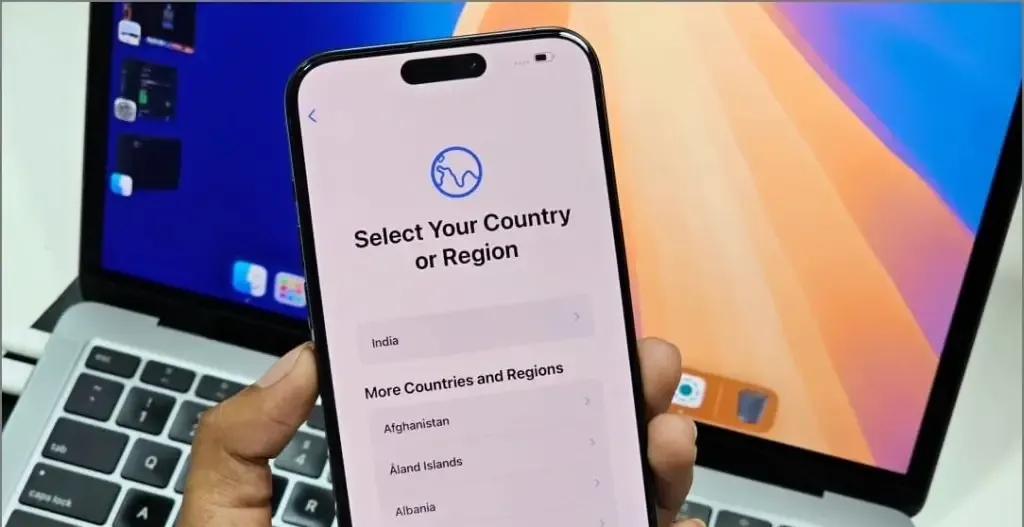
Conclusion : The Final Verdict
Downgrade from iOS 18 Beta to iOS 17 without losing data requires careful steps. Firstly, ensure that you have a recent backup of your device on iCloud or iTunes. Then, put your device into Recovery Mode and connect it to a computer with iTunes installed. Select the option to restore your device while holding the Shift (Windows) or Option (Mac) key, and choose the iOS 17 firmware file. Lastly, restore your backup to ensure all your data is intact.
Checkout Install the iOS 18 Developer Beta on Your iPhone: Step-by-Step Guide
Discover more from Owrbit
Subscribe to get the latest posts sent to your email.


