

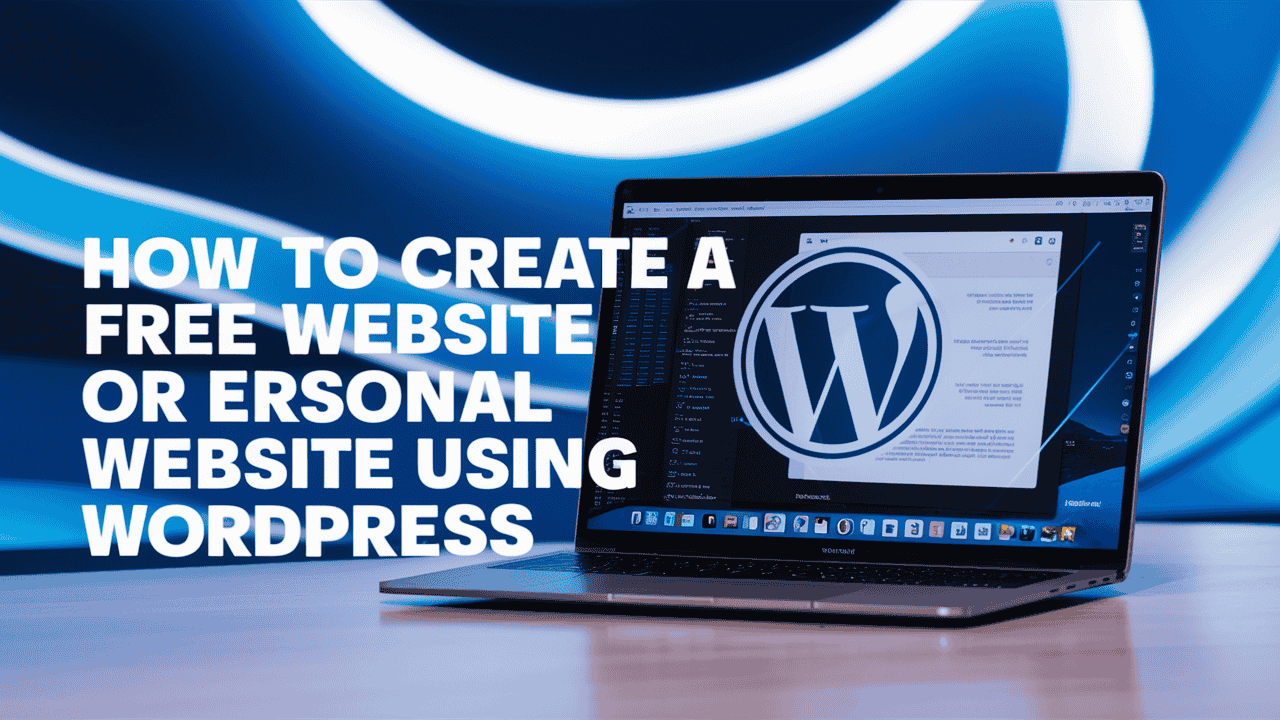
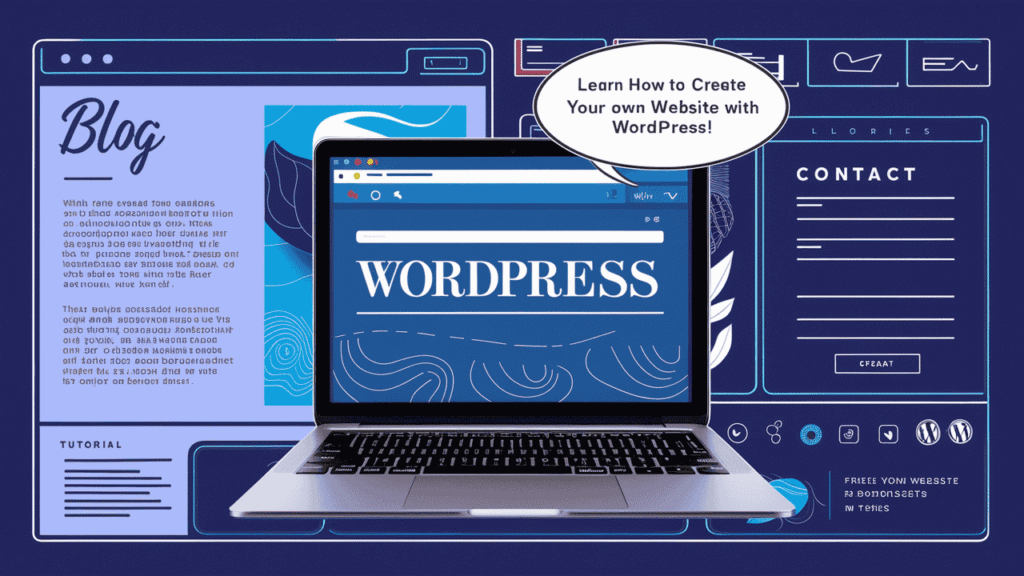
Being online is super important. Whether you want to start a small business, show off your talents, or just share your thoughts and hobbies, having a website helps you reach more people. The good news? You don’t need to be a tech expert or spend money. You can create a free website easily—even in just a few hours!
Thanks to platforms like WordPress, anyone can create a free website without coding or hiring a developer. It’s perfect for building a free personal website where you can write blogs, show your work, or simply express yourself.
At Owrbit, we’ve made this simple step-by-step guide to help you create a free website using WordPress in 2025. We’ll show you how to:
- Pick the perfect domain name
- Choose a nice theme
- Add useful features with plugins
- Design your pages
- And much more!
No matter who you are, this guide will help you build a free personal website that reflects your style and interests. You’ll learn how to use WordPress tools to make your site look great and work smoothly. And the best part? You don’t need to pay anything to get started.
By the end of this guide, you’ll be able to create a free website and know how to manage and grow it over time. Whether you’re blogging, sharing your art, or creating an online resume, your free personal website can help you stand out in 2025.
So, let’s get started and create a free website together. It’s time to bring your ideas online and build a free personal website you can be proud of!
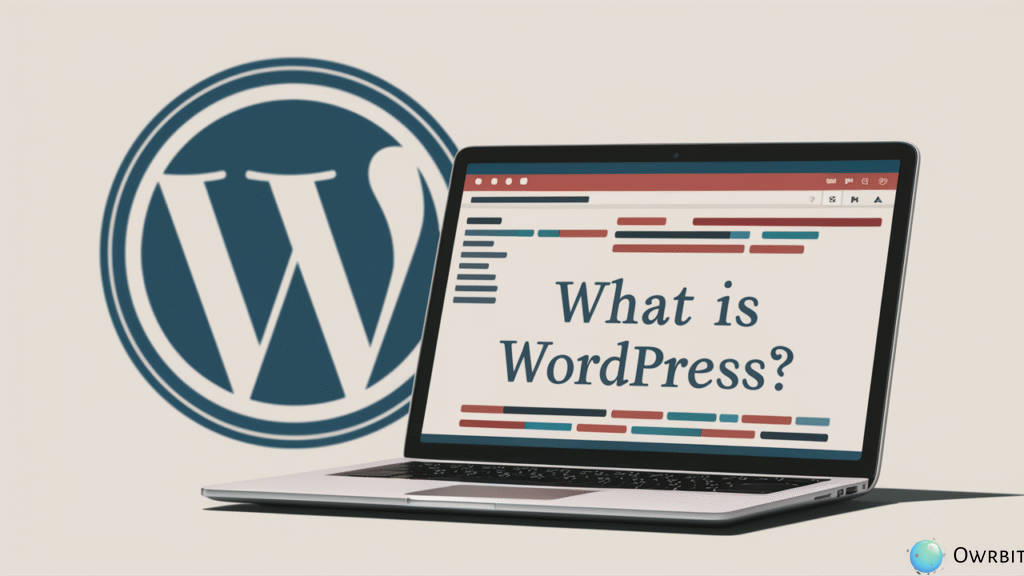
Introduction to WordPress :
WordPress is one of the easiest and most popular platforms to create a free website or build a free personal website. Millions of people around the world use it to start blogs, portfolios, and even small business websites—without needing to learn coding.
There are two main versions of WordPress:
- WordPress.com – A hosted platform with some limitations.
- WordPress.org – A self-hosted version that gives you full control.
In this guide, we’ll use WordPress.org with free web hosting from Owrbit. This gives you more flexibility, better customization options, and a professional feel—all without spending any money. You’ll also get guidance on how to get a free domain name so you don’t have to pay for that either.
Here’s why WordPress (combined with Owrbit’s free hosting) is a great choice for your free personal website:
- User-friendly: WordPress has an easy dashboard where you can create pages, write posts, and manage everything in one place.
- Customizable: Thousands of free themes and plugins help you design and grow your site the way you want.
- SEO-ready: WordPress is built to help your site rank on Google.
- Fully under your control: With Owrbit’s free hosting, you’re not locked into any platform—you can manage your website freely.
- No cost to start: You can create a free website with a free personal domain and hosting, ideal for students, freelancers, bloggers, and beginners.
Using WordPress with Owrbit lets you create a free website that feels premium—without the price tag.
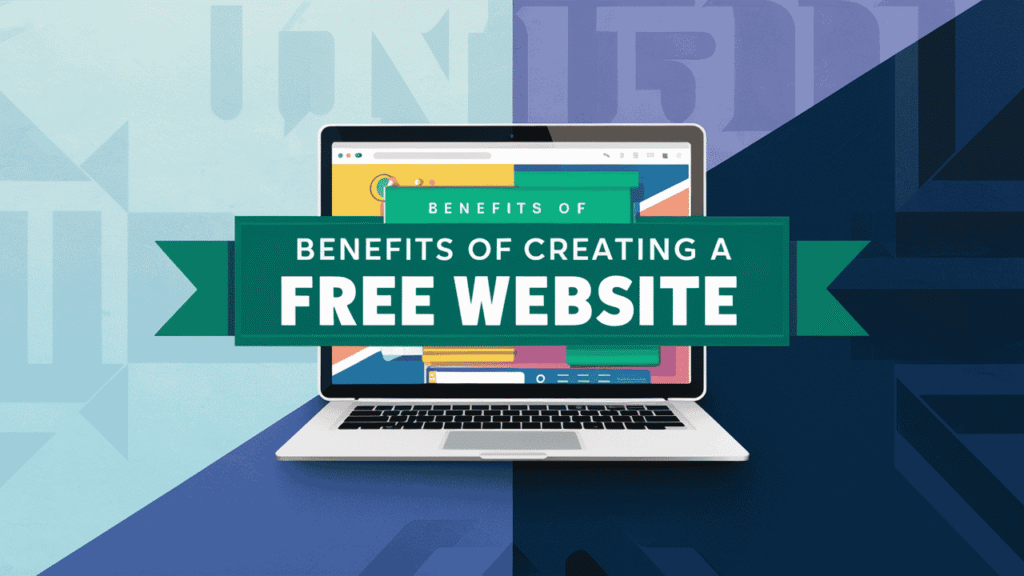
Benefits of Creating a Free Website :
Creating a free website has many great benefits, especially in 2025 when being online matters more than ever. Whether you’re a student, a freelancer, or someone with a hobby to share, starting a free personal website can open up new opportunities. Here are the top benefits when you create a free website:
- 1. No Cost to Get Started
- You don’t need to spend money to create a free website. Platforms like WordPress let you build and publish your free personal website without paying for hosting or a domain. It’s perfect for beginners and those on a budget.
- 2. Share Your Skills or Hobbies
- A free personal website is a great place to showcase your talents, whether it’s writing, photography, art, or coding. You can create a free website that acts like your online portfolio.
- 3. Build an Online Presence
- When people search your name online, your free personal website can show up in search results. This makes you look more professional and helps you stand out—whether you’re applying for jobs or offering services.
- 4. Easy to Use
- Today’s tools make it super easy to create a free website. You don’t need to know how to code. Just choose a design, write your content, and you’re live!
- 5. Learn New Skills
- As you create a free website, you’ll learn about things like design, writing, SEO (search engine optimization), and managing content. These are useful skills in today’s digital world.
- 6. Update Anytime, Anywhere
- With a free personal website, you’re in full control. You can log in anytime to make changes, add new pages, or update your blog—right from your phone or computer.
- 7. Great for Students and Freelancers
- If you’re a student or freelancer, create a free website helps you look serious and professional. You can share your resume, list your services, or write blogs to show your knowledge.
- 8. Build Confidence and Reach
- Your voice matters. When you create a free website, you get a space that’s 100% yours. It helps you connect with others, build confidence, and grow your ideas online.
Steps to Create a Free Website Using WordPress :
If you’re ready to create a free website in 2025, you’re in the right place! Below are the step-by-step instructions to help you build a beautiful and functional free personal website using WordPress. No technical skills needed—just follow along!

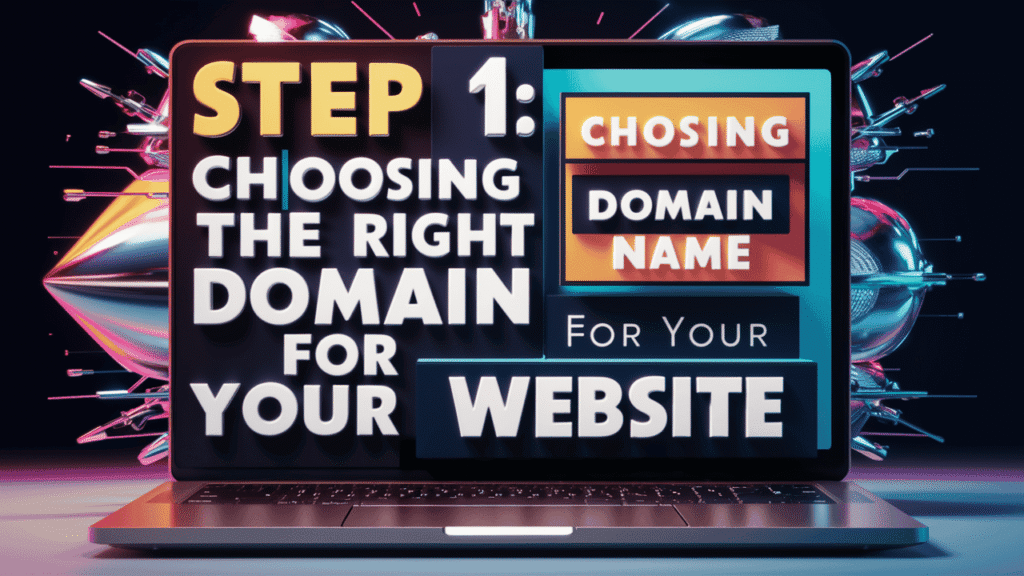
Step 1 : Choosing the Right Domain Name for Your Website
Before you create a free website, it’s important to choose the right domain name. Your domain name is your website’s address on the internet (like yourname.owrbit.in or yourname.wordpress.com). It’s the first thing people will see when they visit your free personal website, so it should be simple, clear, and easy to remember.
Here are some quick tips for picking a great domain name:
Checkout How to Get a Free Domain Name in .pp.ua | Get Hosting For Free 2025
- Keep it Simple
- Choose a name that’s short and easy to type. Avoid using symbols, hyphens, or complicated words.
- Make it Relevant
- Your domain name should match your name, brand, or the topic of your free personal website. For example:
- For a blog: lifeofankita.owrbit.in
- For a portfolio: arjunportfolio.owrbit.in
- For a student: rahulresume.owrbit.in
- Your domain name should match your name, brand, or the topic of your free personal website. For example:
- Use Your Name (If Personal)
- If you’re creating a free personal website for your resume, portfolio, or blog, using your name is a great idea. It helps people easily find and recognize you.
- Check Availability
- On Owrbit or WordPress, you’ll usually get a free subdomain (like yourname.owrbit.in or yourname.wordpress.com). Just make sure your preferred name isn’t already taken.
- Be Unique
- Try to stand out with a domain name that feels personal but still professional. You want something that reflects your identity and purpose when you create a free website.
Step 2 : Getting Free Web Hosting From Owrbit
Once you’ve picked a domain name, the next step to create a free website is to set up hosting — that’s what keeps your site live and accessible online. Owrbit offers a truly free web hosting package that makes launching your free personal website simple and cost-free. Here’s what you get:

What’s Included (Free Plan)
- Host 1 website with 5 GB SSD storage and 150 GB monthly bandwidth.
- 99.9% uptime guarantee for reliable access.
- WordPress‑optimized environment with 1-click WP install.
- DirectAdmin control panel for easy site management.
- Automatic SSL certificate to secure your free personal website.
- 24×7 email & live support plus manual backup and restore options.
Steps To Get Free Web Hosting :

- Visit Owrbit’s Website : Go to Owrbit’s website for Lifetime Free Web Hosting or Click Here.
- Sign Up : Create an account on Owrbit’s website by providing your email address and creating a password.
- Choose Free Hosting Plan : Select the Lifetime Free Web hosting plan from Owrbit’s offerings.
- Enter Domain Name: If you have a domain name, enter it during the signup process. If not, you can buy a new domain name directly from Owrbit.
- Complete Registration: Fill in your details and complete the registration process.
- Verify Email: Check your email inbox for a verification email from Owrbit and click on the verification link to activate your account.
- Set Up Your Website: Once your account is activated, you can log in to Owrbit’s dashboard and set up your website using their website builder or by uploading your own files.
- Manage Your Website: Use Owrbit’s dashboard to manage your website, including adding content, managing domains, and accessing support.
Steps To Convert Your Free Trial Web Hosting To Lifetime Free Web Hosting :
You might be wondering how to convert your free trial web hosting to a lifetime plan. Let’s find out :
- Step 1 : Order the lifetime free web hosting from Owrbit on your domain by this link.
- Step 2 : Upon receiving the hosting service, utilize it for a complimentary 15-day trial period.
- Step 3 : Once the trial ends, contact Owrbit’s customer support to express your interest in converting your free hosting to a lifetime plan.
- Step 4 : The support team will then send you an email or provide instructions on how to proceed with the conversion process.
- Step 5 : Follow the provided instructions and complete any required tasks as directed by the support team.
Following these steps should help you successfully upgrade your free trial web hosting with Owrbit to a lifetime plan.
3. Installing WordPress :
After setting up your free hosting with Owrbit, the next step to create a free website is installing WordPress. WordPress is the platform that powers your free personal website and allows you to manage content, design pages, and add features—without needing to code.

Why Use WordPress?
- It’s free and open-source
- Beginner-friendly with simple tools
- Comes with thousands of free themes and plugins
- Perfect for blogs, portfolios, and personal websites
How to Install WordPress on Owrbit (Step-by-Step) :
Owrbit uses the DirectAdmin control panel, which includes a quick app installer like Softaculous to help you install WordPress easily.
Here’s how to do it:
- Step 1: Log in to DirectAdmin
- After your hosting is activated, Owrbit will email your login details.
- Use those credentials to log in at:
https://yourservername.owrbit.com:2222(or the custom link shared with you).
- Step 2: Open the WordPress Installer
- In the DirectAdmin panel, scroll to Extra Features or Softaculous Apps Installer
- Click on WordPress
- Step 3: Click “Install Now”
- You’ll see a blue Install Now button. Click it.
- Step 4: Fill in Your Website Details
- Choose Protocol: Use
https://(for secure browsing) - Choose Domain/Subdomain: Select your subdomain (e.g.,
yourname.owrbit.in) - Site Name & Description: Enter your site’s title and tagline
- Admin Username & Password: Create your WordPress login details (write them down)
- Admin Email: Add your email to receive notifications
- Choose Protocol: Use
- Step 6: Click “Install”
- Wait a few seconds… and done!
- You’ll see a link to your website and your WordPress admin dashboard (usually something like
yourwebsite.in/wp-admin)
Now you’ve successfully installed WordPress and are ready to build your free personal website!
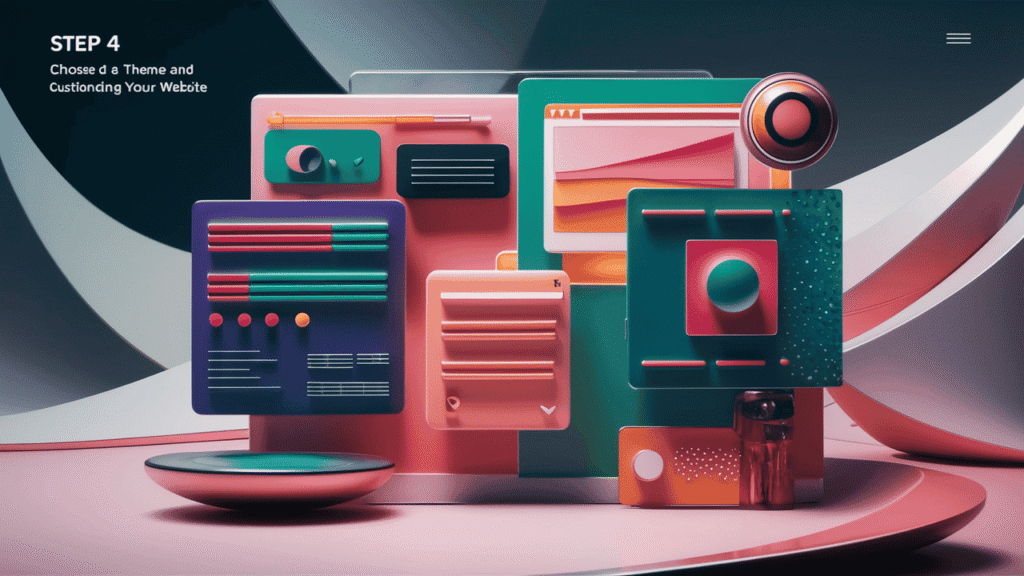
Step 4 : Choosing a Theme and Customizing Your Website
Once you’ve installed WordPress, the next step to create a free website is to choose a theme. A theme controls how your free personal website looks — the layout, colors, fonts, and more.
WordPress offers thousands of free themes that suit all kinds of websites — blogs, portfolios, resumes, hobby sites, or business pages.
How to Choose a Free Theme:
- Log in to WordPress Admin Panel
- Visit your login page (example: yourname.owrbit.in/wp-admin) and enter your credentials.
- Navigate to Themes
- From the dashboard menu, go to Appearance → Themes → Add New.
- Search for a Theme
- Use the search bar to explore free WordPress themes. Some great starter options include:
- Astra – fast and customizable
- Neve – simple and flexible
- OceanWP – great for personal or creative sites
- Twenty Twenty-Four – clean default theme
- Use the search bar to explore free WordPress themes. Some great starter options include:
- Preview and Install
- Click Preview to see how a theme looks. Once you like one, click Install and then Activate.
How to Customize Your Theme:
Once your theme is activated, you can start personalizing it to match your style and the purpose of your free personal website.
- Go to Appearance → Customize
- Change the site title and tagline
- Upload a logo or profile image (optional)
- Edit colors, fonts, and layout
- Set a static homepage if you don’t want your latest blog posts to appear on the front page
Once done, your free personal website will already start to look polished and professional.
Step 5 : Creating Essential Pages for Your Free Website
Now that your theme is set, it’s time to add content to your free personal website. Creating important pages helps visitors understand who you are, what you offer, and how they can reach you. These pages give your site a professional feel and clear structure.
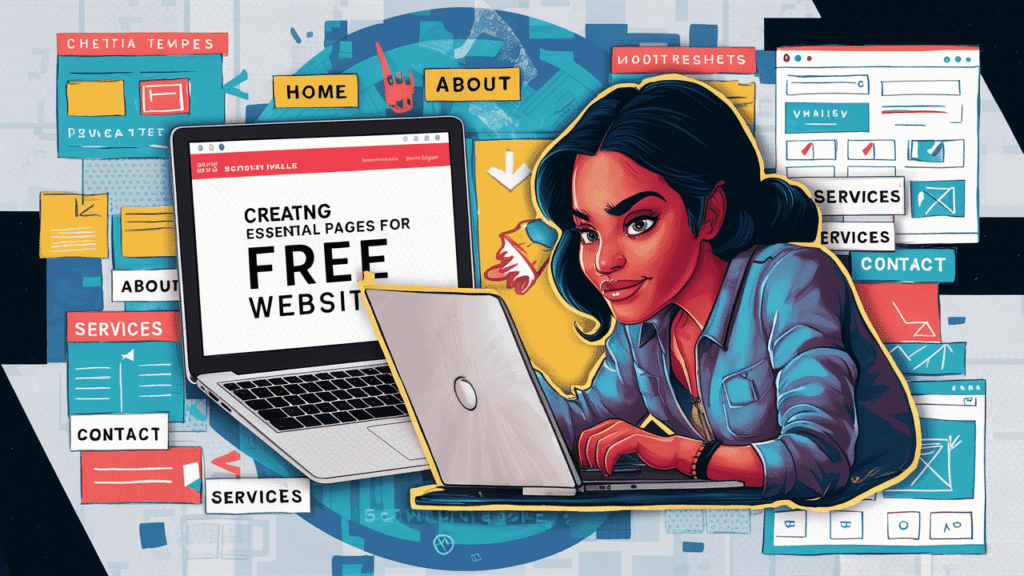
Must-Have Pages for Your Free Personal Website :
- Home Page
- This is the first page people see. It should give a short intro about you or your purpose. If you’re a student, freelancer, or blogger, write a friendly welcome message and highlight what your site is about.
- About Me / About Us
- Share your story here. Talk about who you are, your background, interests, or goals. This helps build trust and makes your free personal website more relatable.
- Portfolio / Projects (Optional)
- If you want to showcase your work, this page is great. Add samples, screenshots, or links to your past projects, blogs, designs, or anything you’re proud of.
- Blog (Optional)
- If you plan to write articles, updates, or guides, your blog page will display them. WordPress adds this page automatically when you start blogging.
- Contact Page
- Add your email address, phone number (optional), and links to your social profiles. You can also install a plugin to add a contact form so people can message you directly.
How to Create Pages in WordPress:
- Log in to your WordPress dashboard
- Go to Pages → Add New
- Add a title like “About Me” or “Contact”
- Write your content using the block editor (easy to use)
- Click Publish
Repeat the same for all important pages.
Once you’ve added these basic pages, your free personal website is ready to share with the world. Next, we’ll look at how to install useful plugins to add extra features.
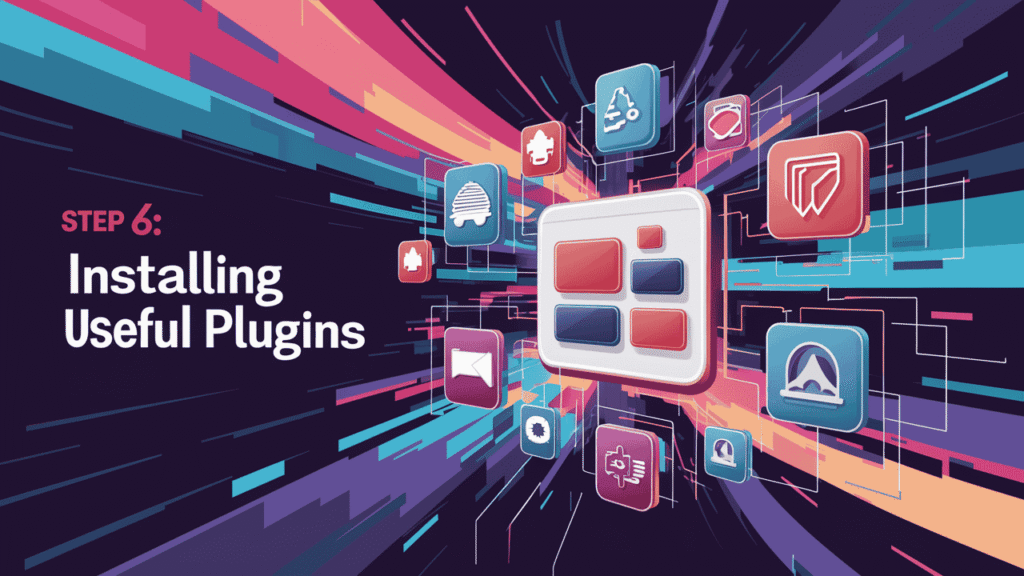
Step 6 : Installing Useful Plugins
Now that your pages are set up, it’s time to add some useful features to your free personal website using plugins. Plugins are like apps for your WordPress site — they help you do more without coding.
Whether you want to speed up your site, improve security, or add contact forms, plugins make it easy to create a free website that works the way you want.
How to Install a Plugin:
- Log in to your WordPress dashboard
- Go to Plugins → Add New
- Use the search bar to find a plugin
- Click Install Now, then Activate
Must-Have Free Plugins for Your Free Personal Website:
- Elementor – Drag-and-drop page builder to easily design your website
- WPForms – Simple contact form creator
- Yoast SEO – Helps improve your Google search ranking
- LiteSpeed Cache – Speeds up your website (recommended for Owrbit hosting)
- UpdraftPlus – Lets you back up your website easily
- Site Kit by Google – Connects Google Analytics and Search Console
- Wordfence Security – Protects your site from hackers and malware
Using plugins, you can turn your simple free personal website into a powerful platform — whether it’s for blogging, your resume, or even a small business.
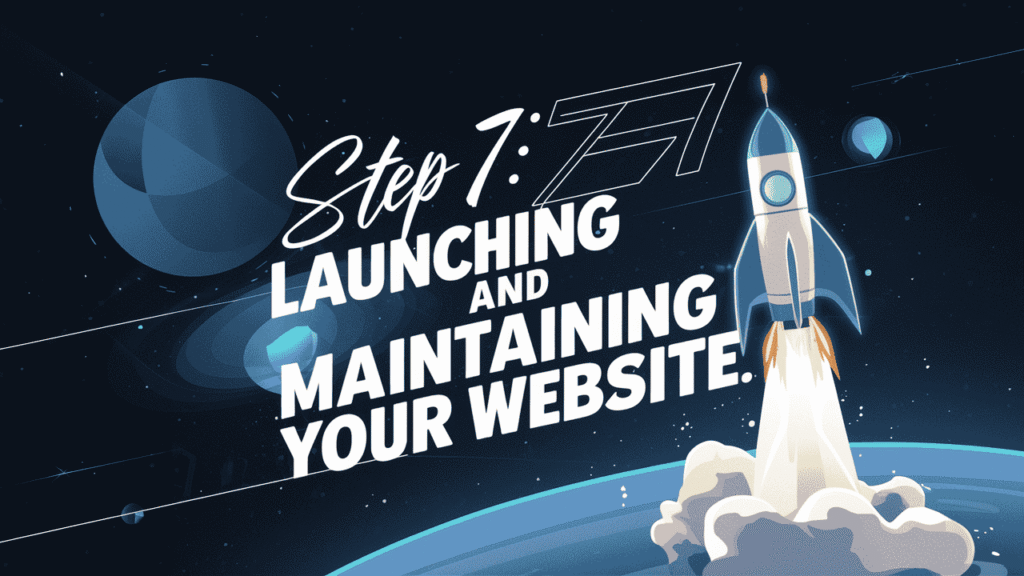
Step 7 : Launching and Maintaining Your Website
You’ve done it — your site is designed, your pages are ready, and plugins are installed. Now it’s time to officially launch your free personal website and make it live for the world to see. After launching, regular maintenance is also important to keep your site secure and running smoothly.
How to Launch Your Free Website :
- Double-check your content
- Read through your homepage, about page, and other sections to fix any typos or missing info.
- Test your website
- Click through all the pages, forms, buttons, and links to make sure everything works properly.
- Share your website
- Start promoting your site. Share your link on:
- WhatsApp status and groups
- Instagram bio
- Twitter, Facebook, or LinkedIn
- Email signature
- Freelance profiles (like Fiverr, Upwork, etc.)
- Start promoting your site. Share your link on:
This helps others discover your free personal website and brings in visitors.
Basic Maintenance Tips
Creating a free website is just the beginning. Keeping it active and updated will help it grow and stay secure.
- Update WordPress, themes, and plugins
- Check your dashboard regularly and keep everything updated.
- Backup your website
- Use a plugin like UpdraftPlus to schedule regular backups, so you don’t lose your data.
- Check website speed
- Use tools like PageSpeed Insights or GTmetrix to test your loading time and improve speed.
- Add fresh content
- Write blog posts or update your portfolio every now and then to keep your free personal website engaging.
- Monitor traffic
- Use Google Analytics (via Site Kit plugin) to see how many visitors are coming to your site and from where.
Congratulations! You now have a fully working free personal website built with WordPress and hosted by Owrbit — without spending any money. You’ve learned how to choose a domain, get free hosting, install WordPress, customize your theme, create pages, add plugins, and maintain your site like a pro.
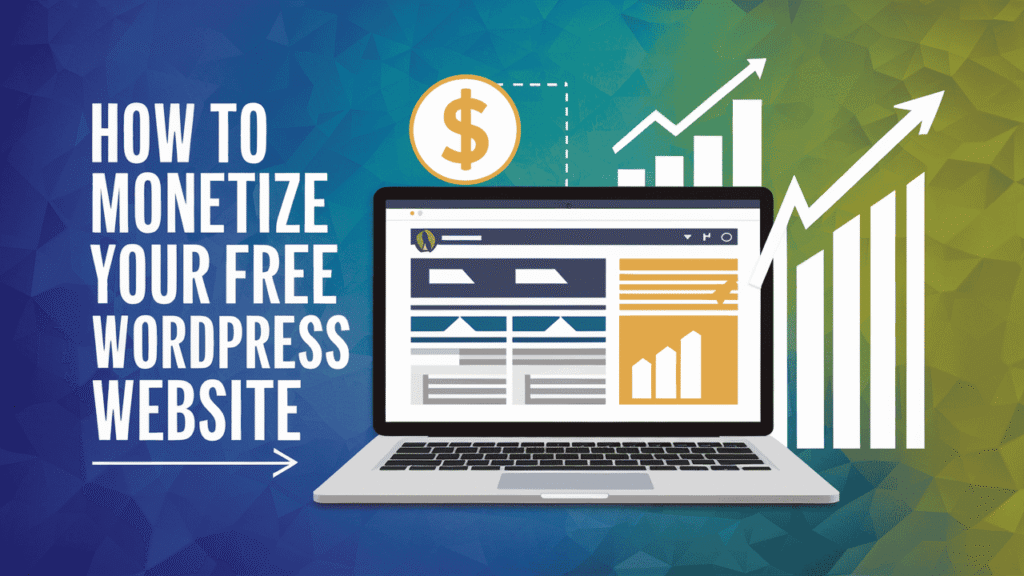
How to Monetize Your Free WordPress Website
After you create a free website, you might wonder — can you make money from it? The answer is yes! Even if you’re using free hosting and WordPress, there are smart and easy ways to turn your free personal website into an income source.
Here are some of the best ways to monetize your free WordPress website in 2025:
- 1. Display Ads with Google AdSense
- Once your free personal website has a few blog posts and some regular visitors, you can apply for Google AdSense. They place ads on your site, and you earn money when people view or click those ads.
- Tip: Make sure your site looks clean, has a privacy policy, and follows AdSense rules before applying.
- Once your free personal website has a few blog posts and some regular visitors, you can apply for Google AdSense. They place ads on your site, and you earn money when people view or click those ads.
- 2. Affiliate Marketing
- This is one of the easiest ways to earn money. You promote other companies’ products, and if someone buys using your special link, you earn a commission.
- Example: If you create a free website about tech reviews, you can add links to products on Amazon or Flipkart.
- This is one of the easiest ways to earn money. You promote other companies’ products, and if someone buys using your special link, you earn a commission.
- 3. Offer Your Services
- Turn your free personal website into your online resume. Add a “Services” or “Hire Me” page and offer things like writing, web design, digital marketing, tutoring, or any skill you have.
- 4. Sell Digital Products
- You can sell :
- E-books
- PDFs
- Templates (like for resumes or Instagram posts)
- Coding snippets
- Online courses
- Use free WordPress plugins like Easy Digital Downloads to manage this easily.
- You can sell :
- 5. Add a Donations Button
- If you’re sharing useful tips, tutorials, or personal stories, people may want to support you. You can add a PayPal or “Buy Me a Coffee” button to accept small donations.
- 6. Create Paid Content or Membership
- You can lock some parts of your free personal website and only allow access to paid users. This works well for premium guides, special tips, or exclusive downloads.
- 7. Sponsored Posts or Reviews
- As your website grows, brands may contact you to promote their product or write a sponsored review. You can charge a fee for this.
- Note: Always tell your readers if a post is sponsored — it builds trust
- As your website grows, brands may contact you to promote their product or write a sponsored review. You can charge a fee for this.
Even if you start with zero budget and create a free website, you can still turn it into something valuable. Focus on building useful content, sharing your knowledge, and being consistent. Over time, your free personal website can grow into a source of income.
Conclusion: Start Your Online Journey Today
In today’s digital world, anyone can build their own space online — and now, you know exactly how. From choosing a domain name to customizing your design, adding plugins, and even monetizing your content, you’ve learned the full process to create a free website step by step.
With the help of WordPress and Owrbit’s free hosting, you don’t need to be a tech expert or spend any money to get started. Whether it’s for blogging, sharing your hobbies, building your portfolio, or offering freelance services, a free personal website is a powerful way to express yourself and grow online.
As you continue to update and improve your site, you’ll discover even more ways to grow your audience and turn your ideas into income. Just remember — consistency is key.
So what are you waiting for? Start building your free personal website today, and take the first step toward your digital success!
Checkout Transfer Web Hosting: How to Move Your Website to a New Web Host
Discover more from Owrbit
Subscribe to get the latest posts sent to your email.