

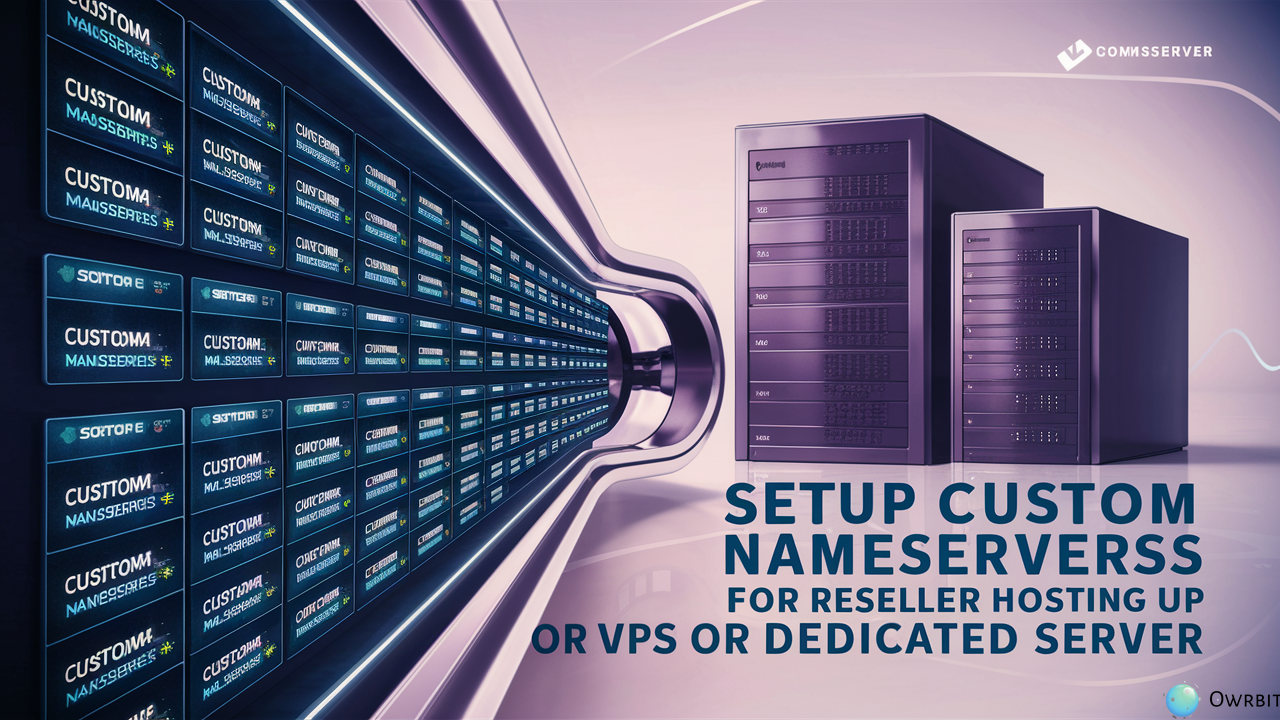
If you run a website or sell hosting services, having control over your domain and hosting setup is super important. One great way to take control and make things look more professional is by using custom nameservers. This is especially helpful if you’re into reseller hosting, VPS, or dedicated servers.
With custom nameservers, you can replace the default nameservers (like ns1.hostingcompany.com) with your own branded ones (like ns1.yourcompany.com). This not only builds trust with your customers but also makes your business look more professional. You can also manage everything more smoothly. Learning how to configure personal nameservers can really take your hosting game to the next level.
In this easy guide by Owrbit, we’ll show you how to customize nameservers in hosting step by step. Whether you’re a pro or just starting out, setting up custom nameservers isn’t as hard as it sounds. Once you understand the steps, it becomes a quick and simple process.
We’ll guide you through everything – from picking the right domain for your custom nameservers, to how to configure personal nameservers in your hosting panel. With Owrbit’s help, you’ll learn how to customize nameservers in hosting the right way, so your clients always get fast, reliable service.
Using custom nameservers also gives your brand a strong identity. Instead of showing another company’s domain in your DNS settings, you’ll have your own name there – and that always looks more professional.
If you’re running a small reseller hosting business or managing a big dedicated server setup, knowing how to configure personal nameservers is a must. When you customize nameservers in hosting, you get more control, better branding, and a smoother experience for your users.
Let Owrbit help you every step of the way as you learn to customize nameservers in hosting, configure personal nameservers, and set up custom nameservers that reflect your unique brand. It’s time to take your hosting service to the next level.

What are Custom Nameservers?
Custom nameservers are personalized DNS addresses that replace the default nameservers provided by your hosting company. Instead of using something like ns1.hostingprovider.com, you can use your own branded nameservers like ns1.yourdomain.com. This is a great way to build trust and improve your brand image, especially if you’re offering reseller hosting, VPS, or dedicated server services.

When you configure personal nameservers, you create a more professional experience for your clients. It shows that you have full control over your hosting environment and allows you to manage DNS settings under your own domain.
Learning how to customize nameservers in hosting gives you more flexibility. You can manage multiple clients, set custom DNS rules, and maintain consistency across your brand. Whether you’re managing a few websites or running a full-scale hosting business, setting up custom nameservers can make a big difference.
Custom nameservers are especially useful when you want to hide your upstream provider and present your hosting service as your own. By taking the time to configure personal nameservers, you improve your service and add an extra layer of professionalism. Once you customize nameservers in hosting, your business looks more credible and trustworthy.
To sum it up, custom nameservers are a smart way to personalize and improve your hosting setup. With the right steps, you can easily configure personal nameservers and customize nameservers in hosting to match your brand.
Why Use Custom Nameservers for Your Hosting?
Here are the main reasons why using custom nameservers is a smart move for your hosting setup:

- Professional Branding :
- When you customize nameservers in hosting, your own domain name is used (like
ns1.yourbrand.com), making your business look more professional and trustworthy.
- When you customize nameservers in hosting, your own domain name is used (like
- Increased Trust from Clients :
- Custom nameservers show your clients that you’re serious about hosting. This builds confidence and helps grow your hosting business.
- Full DNS Control :
- By learning to configure personal nameservers, you gain full control over DNS settings and can manage records based on your needs.
- Consistency Across Services :
- Even if you switch your backend hosting provider, your custom nameservers can stay the same—no need to inform all your clients or make changes across websites.
- Better Client Experience :
- When you customize nameservers in hosting, everything looks clean and unified to your customers. They only see your brand, not a third-party hosting provider.
- Easy for Reseller Hosting :
- If you’re reselling hosting, it’s crucial to configure personal nameservers so your clients don’t see your provider’s name. It keeps your brand front and center.
- Improved DNS Management :
- Custom nameservers give you the ability to create, edit, and manage DNS zones directly from your own hosting control panel.
- Enhanced Security :
- With the ability to customize nameservers in hosting, you can better monitor and control DNS activity under your brand, adding another layer of security.
- Stronger Brand Identity :
- Every time someone checks DNS records, they see your domain. This helps build and reinforce your brand over time.
Prerequisites for Setting Up Custom Personal Nameservers :
Before you start setting up custom nameservers, there are a few important things you need to have ready. These will make the process of configuring everything smoother and more successful. Whether you’re planning to configure personal nameservers for the first time or just want to customize nameservers in hosting to match your brand, make sure you have the following:

- A Registered Domain Name :
- You’ll need a domain where your custom nameservers will be created—like
ns1.yourdomain.comandns2.yourdomain.com. You can use any domain you own.
- You’ll need a domain where your custom nameservers will be created—like
- Access to Your Domain Registrar Panel :
- To configure personal nameservers, you need to log into your domain registrar (e.g., GoDaddy, Namecheap) and set up child or glue records that point to your hosting IP addresses.
- A Hosting Account or Server with Static IPs :
- You need at least one or two dedicated (static) IP addresses. These IPs will be assigned to your custom nameservers. Most VPS and dedicated server plans include them by default.
- DNS Management Access :
- Whether you’re using cPanel, DirectAdmin, or any other control panel, you must be able to manage DNS zones. This allows you to customize nameservers in hosting without issues.
- Server’s Hostname Properly Set :
- Make sure your server’s hostname is correctly configured, as this affects email delivery, DNS records, and more.
- Reverse DNS (PTR) Setup (Optional but Recommended) :
- For those who want to go a step further when you configure personal nameservers, having reverse DNS properly set can help with email deliverability and improve professionalism.
- Basic Knowledge of DNS and Hosting Terms :
- It helps if you understand basic DNS terms like A record, NS record, and glue records. This makes it easier to customize nameservers in hosting without confusion.
Once you have all these things in place, you’re ready to configure personal nameservers and give your hosting a fully branded and professional touch using custom nameservers.
Step-by-Step Guide to Setting Up Custom Nameservers in DirectAdmin :
Here’s a step-by-step guide to setting up custom nameservers in DirectAdmin:
Checkout Get Lifetime Reseller Hosting | DirectAdmin | 99.9% Uptime

- Log in to DirectAdmin:
- Access your DirectAdmin control panel using your admin credentials.
- Add a Domain:
- Navigate to the “User Panel.”
- Click on “Add Another Domain” and enter your domain name.
- Create Nameservers:
- Switch to the “Reseller Panel.”
- Click on “Name Servers.”
- Create two nameservers (e.g.,
ns1.yourdomain.comandns2.yourdomain.com) and assign the IP addresses to them.
- Update Admin Settings:
- Return to the “Admin Panel.”
- Go to “Admin Settings” and set the newly created nameservers as the primary ones.
- Configure DNS Records:
- Navigate to “DNS Management” or “DNS Administration.”
- Add
Arecords for your nameservers:ns1.yourdomain.compointing to the first IP address.ns2.yourdomain.compointing to the second IP address.
- Register Nameservers with Your Domain Registrar:
- Log in to your domain registrar’s account.
- Register the custom nameservers (e.g.,
ns1.yourdomain.comandns2.yourdomain.com) with their respective IP addresses. - Update the domain’s nameservers to the custom ones you just created.
- Test the Configuration:
- Use tools like
digornslookupto verify that the nameservers are resolving correctly.
- Use tools like
Video Tutorial :
Best Practices for Nameserver Configuration :
Setting up your nameservers the right way is important to make sure your website is always accessible and works smoothly. Here are some easy-to-follow tips to help you configure personal nameservers:
- 1. Pick Reliable Custom Nameservers
- Choose custom nameservers that come from a trusted provider. When you customize nameservers in hosting, you ensure that your website remains fast and stable.
- Avoid using default nameservers from your domain registrar, as they might not be as reliable. Custom nameservers give you better control and often perform better.
- 2. Use Multiple Nameservers
- Always set up at least two custom nameservers (primary and secondary). This way, if one nameserver goes down, the other can still keep your website online.
- Distribute your custom nameservers across different locations to make them more resilient and faster.
- 3. Manage Your DNS Zone Carefully
- When you configure personal nameservers, make sure your DNS records are organized. This includes things like your website’s IP address (A record), email setup (MX record), and other necessary settings.
- Regularly check your DNS settings to ensure everything is correct and up-to-date.
- 4. Don’t Rely on Default Registrar Nameservers
- Many registrars provide default nameservers, but it’s better to configure personal nameservers for better control and security.
- By customizing nameservers in hosting, you can enjoy more advanced features and better performance.
- 5. Adjust the TTL (Time to Live)
- The TTL setting in your DNS records determines how long the records stay cached. If you configure personal nameservers, make sure to set appropriate TTL values.
- Use lower TTLs for records that change often (like email servers) and higher TTLs for records that stay the same.
- 6. Add Extra Security with DNSSEC
- When you configure personal nameservers, consider enabling DNSSEC. This helps protect your website from attacks like DNS spoofing.
- DNSSEC makes sure that the responses from your custom nameservers are genuine and not tampered with.
- 7. Monitor Your DNS Regularly
- Once you customize nameservers in hosting, it’s a good idea to keep an eye on your DNS records. Regular checks will help spot any issues early.
- Use monitoring tools to get alerts if your custom nameservers or DNS records have problems.
- 8. Consider Split DNS for Extra Protection
- Split DNS allows you to use different nameservers for internal and external traffic. If you configure personal nameservers, this can help keep your internal data more secure.
- It’s a smart move if you want to protect your internal network while still managing your domain’s public-facing records.
- 9. Set Up Failover and Load Balancing
- If your website is crucial, set up DNS failover. When you customize nameservers in hosting, you can ensure that if one server fails, another takes over, keeping your site online.
- You can also use load balancing to spread traffic across different servers, preventing one from becoming overloaded.
- 10. Keep Backups of Your DNS Settings
- When you configure personal nameservers, always keep a backup of your DNS settings. This makes it easier to recover if anything goes wrong.
- Having a backup helps you quickly restore your custom nameservers if you need to switch to a different hosting provider.
- 11. Allow Time for DNS Changes to Spread
- After you customize nameservers in hosting, changes take time to spread across the internet. This process is called DNS propagation, and it can take up to 48 hours.
- Be patient and don’t make further changes until everything has settled.
- 12. Test Your Nameservers
- After configuring your custom nameservers, use online tools to test them. This will help you make sure they’re working properly.
- Tools like
nslookupor online services like MXToolbox can help you confirm that your custom nameservers are set up correctly.
By following these easy tips, you’ll have a well-configured and secure DNS setup. When you configure personal nameservers and customize nameservers in hosting, you ensure your website stays online, performs well, and is protected from potential issues.
Conclusion: Key Takeaways for Custom Nameserver Setup
Setting up custom nameservers might sound technical at first, but once you get the hang of it, it’s actually pretty simple. Whether you run a personal blog, manage client websites, or offer reseller hosting services, taking the time to configure personal nameservers is a smart move. It gives your brand a more professional image and puts you in full control of your hosting setup.
When you customize nameservers in hosting, you no longer have to depend on your hosting provider’s branding. Instead, you create your own identity with custom nameservers like ns1.yourbrand.com. This not only builds trust with your users but also makes your business look more serious and well-managed.
Here are some key things to remember:
- Custom nameservers help you build strong brand visibility.
- Always configure personal nameservers correctly to avoid DNS issues.
- When you customize nameservers in hosting, make sure your IPs and DNS zones are properly set up.
- Keep your DNS records clean and updated when using custom nameservers.
- If you’re running a reseller business, configure personal nameservers to hide your backend provider.
- Customize nameservers in hosting to give your clients a clean, branded experience.
- Make sure to test your custom nameservers after setup using tools like
nslookupor MXToolbox. - Backup your settings regularly when you configure personal nameservers, just in case.
- Allow time for DNS propagation after you customize nameservers in hosting.
- Security matters—secure your custom nameservers using DNSSEC if available.
By following these tips and steps, you’ll be fully equipped to configure personal nameservers with confidence. At the same time, you’ll be able to customize nameservers in hosting to match your business needs and branding.
In short, custom nameservers are a small but powerful step that makes a big difference. They bring better control, smoother management, and a professional look that customers trust. So go ahead—configure personal nameservers, customize nameservers in hosting, and give your hosting setup the professional edge it deserves.
Checkout Easiest 5 Ways to Earn Money as a Student & Make Money Online
Discover more from Owrbit
Subscribe to get the latest posts sent to your email.