

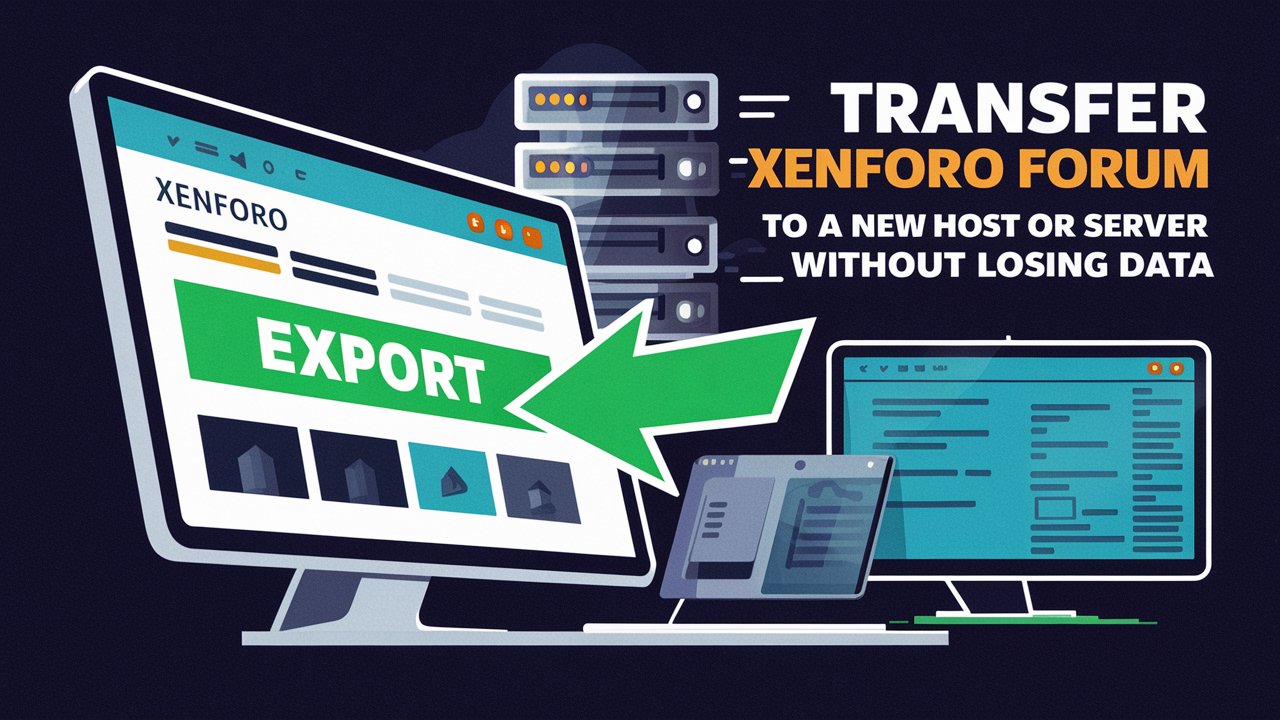
Transfer XenForo forum to a new host or server can seem overwhelming, especially when you care about keeping your data safe. Whether you want better performance, more support, or a cheaper hosting option, it’s important to plan your migration carefully to avoid problems. Luckily, with the right steps, you can make the move smoothly without losing any important information or disrupting your community.
In this easy-to-follow guide from Owrbit, we’ll take you through the key steps to successfully migrate your XenForo forum to a new host. We’ll cover everything from backing up your files and database to setting up your new server and making the final switch. You’ll learn how to keep your data safe, reduce downtime, and fix common issues that might pop up during the process. Whether you’re an experienced admin or new to managing forums, this guide will give you the confidence to transfer your XenForo forum while protecting your community and its valuable history.

What is XenForo and Why Use It?
XenForo is a popular forum software that allows users to create and manage online communities. It was developed by a team of former vBulletin developers and is known for its modern design, user-friendly interface, and extensive customization options. XenForo provides a platform for discussions, sharing information, and building relationships among users.

Why Use XenForo?
- User-Friendly Interface: XenForo features an intuitive design that makes it easy for both administrators and users to navigate. This enhances the overall user experience.
- Customization Options: With a wide range of add-ons and themes, you can tailor your forum to meet your community’s specific needs and aesthetic preferences.
- Mobile Responsiveness: XenForo is designed to be mobile-friendly, ensuring that your forum looks great and functions well on smartphones and tablets.
- Robust Community Features: It offers powerful features like user profiles, messaging, notifications, and social media integration, which help foster engagement within your community.
- SEO-Friendly: XenForo is built with search engine optimization (SEO) in mind, making it easier for your forum to rank higher in search results and attract new users.
- Strong Support and Documentation: The XenForo community is active, and there’s extensive documentation available to help you troubleshoot issues and make the most of the software.
- Regular Updates: The developers regularly release updates and improvements, ensuring that your forum remains secure and up-to-date with the latest features.
Steps to Transfer Xenforo Forum to a New Host or Server :
Step 1: Check if Your New Server Works with XenForo :
Before moving your forum, make sure the new server has the right setup for XenForo. It needs specific PHP extensions like MySQLi, Iconv, Ctype, GD, PCRE, SPL, JSON, DOM, and SimpleXML. You can use a test script provided by XenForo to check if these extensions are installed.

Also, ensure the new server has MySQL version 5 or higher. If you’re unsure, check with your hosting provider about the MySQL version.

Step 2: Close Your Old Forum :
Before you start the move, you need to close your forum on the old server. Go to your Admin Control Panel, find the “Options” section, and uncheck the “Board is active” box. You can also add a message for users visiting the forum during the move. Here’s a sample message you can use:
“Sorry, we’re currently moving the forum to a new host/server. You are seeing this message because we’re in the middle of the move. Once we finish, you’ll be able to access the forum on the new server.”
Feel free to change this message to suit your needs.

Step 3: Backup Your Database and Files
The way you back up your database and files can depend on the control panel you’re using.
If you’re using cPanel, you can go to the Backup menu under the Files section to download backups of your database and files. You might also have the option to do a full cPanel backup, which includes emails and other settings.
If you have root access, you can use WHM to perform a cPanel-to-cPanel migration.
I usually use MySQL Dumper for database backups and zip the contents of the public_html folder (or its equivalent) using the file manager. Store these backup files in a temporary folder that you can access through a web browser.

Step 4: Set Up Your Domain on the New Server
Setting up a domain on the new server can differ based on your hosting provider, so check their documentation for specific instructions on adding a new domain.
Step 5: Transfer Your Backups
To move your backup files to the new server, you can download them and then upload them using FTP. If your backups are large, this process can take a long time. It’s usually faster to transfer files directly between servers.
You can use SSH to move your backups quickly. By using the WGET command in the SSH terminal, you can fetch the backup files from the old server to the new one using its IP address:
WGET http://OLD_SERVER_IP/PATH_TO_FILEBKUP
WGET http://OLD_SERVER_IP/PATH_TO_DBBKUP
This will transfer your files and database to the new server.
Step 6: Restore Your Files and Database
Unzip the backup files into the new server’s public_html (or its equivalent) folder. If your backup is in .gz format, you can use the gunzip command to unzip it.
To restore the database via the command line, log in to MySQL using:
mysql -u <USERNAME> -p
It will ask for your password. Enter the MySQL password for your domain on the new host. Once logged in, switch to the database where you want to restore the backup.
MySQL> use <DATABASENAME>
Then, import the backup with:
MySQL> Source <MYSQLBACKUPFILE>
This process might take some time, especially for large databases.
Step 7: Update the Config File
Edit the config.php file to update it with the new database details.
Step 8: Check Permissions for Data and Internal_Data Directories
In the file manager, check the permissions for the data and internal_data directories. Ideally, they should be set to 755, but if you encounter issues, you can change them to 777.

Step 9: Test the New Configuration
To test the new setup, you can edit your host files to access the new server. Follow instructions from sites like HowtoGeek to edit the host file. Create a temporary text file in the public_html folder on the new server so you can see you’re on the right server when you browse.
Once you can access the new server, check that everything works correctly, including SEO-friendly URLs and file uploads. If you had caching enabled on the old server, make sure it’s disabled or set up correctly on the new server. If you switched from Apache to Nginx, you may need to add new rewrite rules for the URLs to function properly.
When you’ve confirmed everything is working, make the forum active on the new server.
Step 10: Point Your Domain to the New Server
Finally, update your domain’s DNS settings to point to the new server. DNS changes can take anywhere from 4 hours to 48 hours to propagate. During this time, visitors will still see the closure message on the old server. Once the DNS changes take effect, they’ll see the active forum on the new server. Keep an eye on the online user count to ensure things are moving smoothly as the DNS propagation completes.
Conclusion :
Moving your XenForo forum to a new host may seem like a daunting task, but by following the steps outlined in this guide, you can ensure a smooth and successful transition. With careful planning, you can back up your data, set up your new server, and minimize downtime for your community.
Remember, the key steps include checking server compatibility, closing the old forum, backing up your database and files, and restoring everything on the new server. Make sure to update your configuration files and test everything before making your forum active again.
Once your domain points to the new server, users will gradually access the forum without disruption. By taking your time and following these steps, you can move your forum safely while keeping your community intact. Good luck with your migration!
Checkout Discover The Best Xenforo Hosting For Your Community 2024
Discover more from Owrbit
Subscribe to get the latest posts sent to your email.