

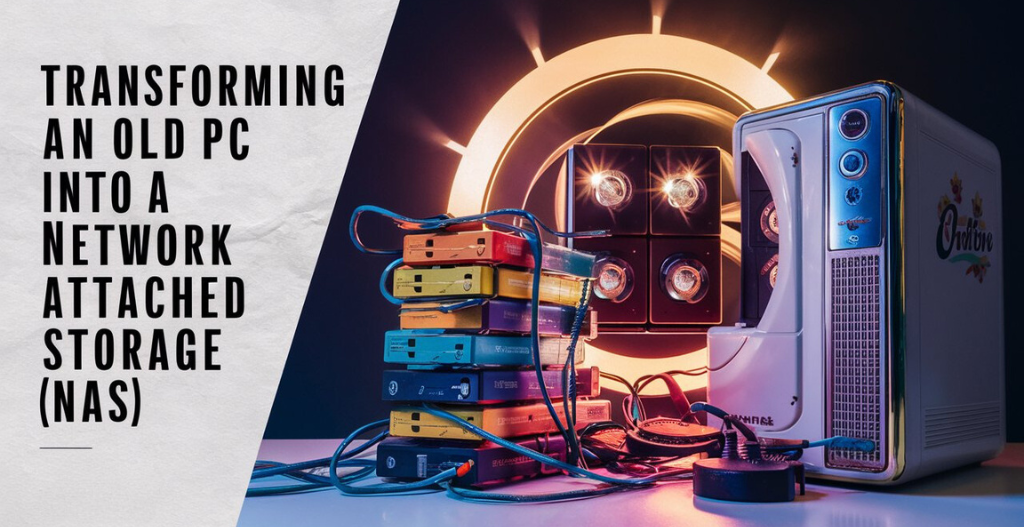
Having enough storage space to keep all your files and media is crucial. A Network Attached Storage (NAS) device can provide a convenient and cost-effective solution to this problem. But what if you don’t want to invest in a brand-new NAS and prefer to repurpose an old PC into an NAS server instead? Have a look at Owrbit’s guide on transforming an old PC into a NAS.
In this guide, Owrbit takes you through the step-by-step process of converting your outdated computer into a powerful NAS system. From selecting the right hardware and software to setting up the necessary configurations, Owrbit provides clear and easy-to-follow instructions that even the most tech-challenged individuals can understand. With Owrbit’s expert guidance, you can breathe new life into your old PC and enjoy all the benefits of a NAS without breaking the bank.

Introduction To Network Attached-Storage :
Network-Attached Storage (NAS) is a type of storage device that is permanently connected to a network and allows multiple users and devices to access and share files. Unlike traditional storage solutions like external hard drives or USB drives, NAS devices are specially designed to be always on and accessible from any location with an internet connection. This makes NAS a popular choice for businesses, homes, and even small offices. With NAS, users can store and backup important files, stream media to multiple devices, and even host websites and applications.

Benefits of Using NAS for Home or Small Business :

- Centralized Storage: Consolidate all your digital content in one place for easy management and access.
- Data Backup and Recovery: Ensure important files are regularly backed up and easily recoverable, protecting against data loss.
- Media Streaming: Stream movies, music, and photos to various devices seamlessly.
- Remote Access: Access your files from anywhere with an internet connection, enhancing convenience and productivity.
- Cost Efficiency: More cost-effective than cloud storage subscriptions and traditional server setups, especially as storage needs grow.
- Enhanced Collaboration: Facilitate file sharing and collaboration among multiple users, boosting productivity.
- Data Redundancy: Support for RAID configurations provides protection against drive failures and ensures data availability.
- Scalability: Easily expand storage capacity with additional drives as your needs grow.
- Security Features: Robust security options like encryption, user access controls, and VPN support protect your data.
- Data Privacy: Keeping data on a local NAS enhances privacy by avoiding third-party storage.
Specifications Recommended To Turn a Old PC into NAS :
- Processor (CPU): Quad-core processor
- Memory (RAM): 4 GB or more
- Storage: Multiple drives, ideally configured in RAID
- Motherboard and Ports: Multiple SATA ports or RAID controller
- Network Interface: Gigabit Ethernet (1000 Mbps)
How to Setup an Old PC as a NAS:
- Install a NAS Operating System: Begin by choosing and installing a NAS-specific operating system on your old computer. Popular options include FreeNAS, OpenFiler, and OpenMediaVault. Download the ISO file for your chosen OS and create a bootable USB drive or disk to facilitate installation.
- Connect to Your Network: After installing the NAS OS, connect the old PC to your home network. You can use an Ethernet cable or Wi-Fi, depending on your preference. Ensure all cables are securely connected and that your router is properly configured if using a wireless connection.
- Configure Storage Server Settings: Access the NAS OS dashboard to configure storage settings, including folder structures, user profiles, and logs. Familiarize yourself with the options available to ensure efficient data storage and accessibility.
- Add Storage Devices: Connect hard drives or SSDs to your PC. Insert them into the appropriate ports on your motherboard and configure them through the NAS OS dashboard according to your storage needs.
- Set Up Remote Access: If you want to access your NAS remotely, configure remote access settings. Most NAS operating systems offer user-friendly interfaces for this purpose. Set up port forwarding on your router and create a secure username and password for remote authentication.
- Finalize Settings: Review and save all configurations, including storage and remote access settings. Ensure that all changes are saved before shutting down or rebooting your NAS device to prevent any issues with unsaved parameters.
Conclusion :
Transforming an old PC into a NAS device is a smart and budget-friendly way to expand your storage capabilities. By repurposing your outdated computer, you can create a powerful and versatile storage solution without the expense of a new NAS unit. With the right operating system, proper setup, and configuration, your old PC can efficiently handle tasks like file storage, media streaming, and remote access. Following Owrbit’s guide ensures that even those new to tech can successfully convert their old hardware into a functional NAS system. Enjoy the benefits of centralized storage, data backup, and enhanced collaboration while saving money and making the most of your existing equipment.
Discover more from Owrbit
Subscribe to get the latest posts sent to your email.